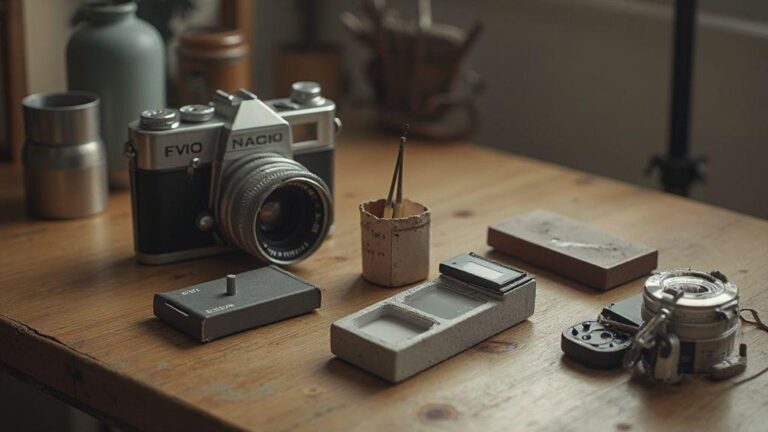
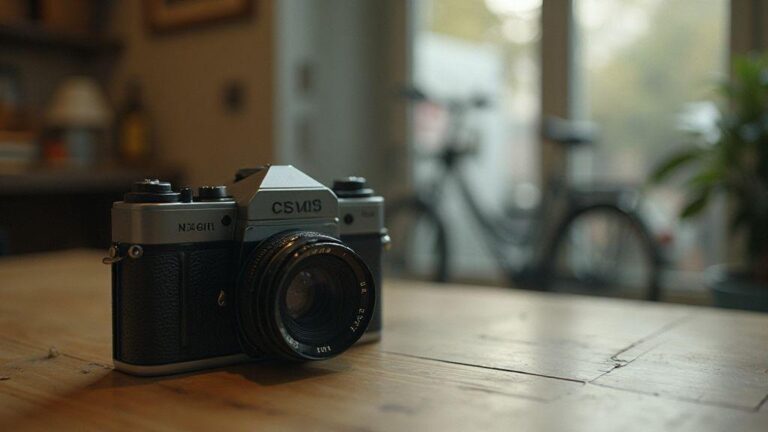
Understanding Over and Under Exposure in Analog Negatives
Your film camera is honest about exposure. When you get it right, detail survives from shadows to highlights. But mistakes happen, and they show up as overexposed or underexposed negatives. You’ll learn what each looks like, why it happened, and how to check your frame quickly. This guide centers on Understanding Over and Under Exposure in Analog Negatives, so you can read your negs like a pro and save shoots that miss the mark.
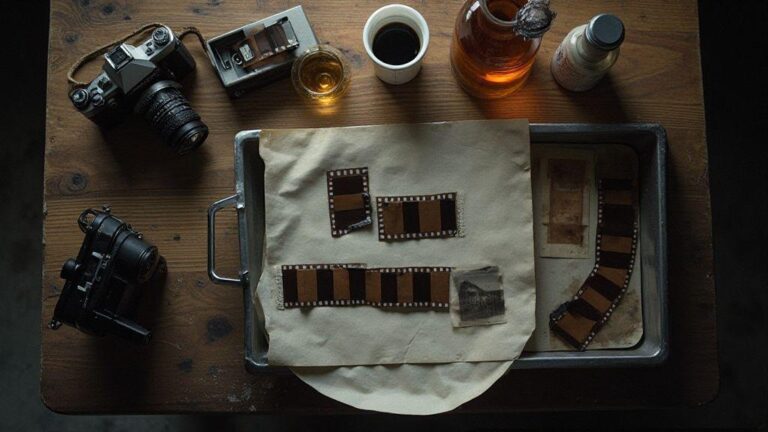
Overexposed negatives show too much light: highlights blow out, midtones brighten and lose separation, and textures fade in bright areas. Negatives feel dense, almost black in bright patches, with little separation in skies or reflections. It often results from a shutter left open too long or an aperture too wide. The fix is usually shorter exposure or a smaller aperture next time to tame the shine and preserve detail.
Underexposed negatives tell a different story: shadows swallow detail, and the image can look muddy or too dark. Grain becomes dense, with whites turning gray and blacks heavy. This happens when you expose for too short a time, use too small an aperture, or shoot in mixed light without compensation. Prints tend to be low-contrast with blocked shadows. The cure is usually a longer exposure, a wider aperture, or bracketing a few frames to find the sweet spot.
Quick check to spot exposure errors is fast. Inspect the negative base density and edge markings if present for clues about brightness. Hold the negative to light to confirm some detail in the brightest areas and texture in the shadows. If the negs are nearly opaque or almost transparent, you’re off. When scanning, check the histogram for a balanced spread rather than all peaks in one corner.
How you read your meter for film
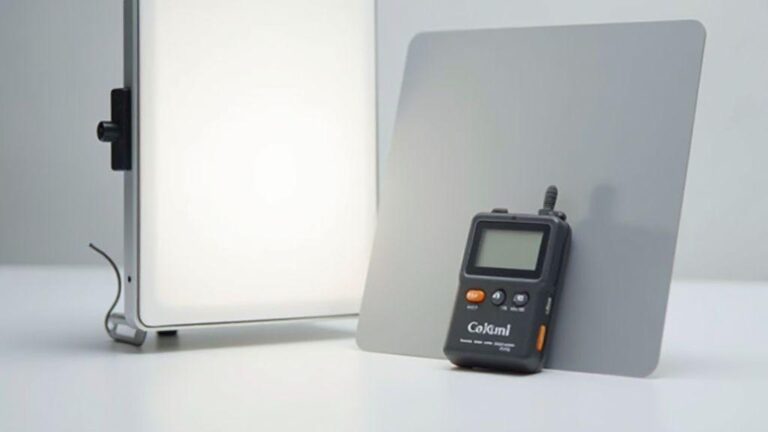
You should treat your light meter as a trusted guide, not a gadget to fiddle with aimlessly. Reading the meter maps light to film so your shots match your intention. The goal is to preserve detail in highlights and shadows without blowing out the sky or crushing blacks. Point the meter at the scene, choose the proper mode, and cross-check with film speed and development plans. With practice, you’ll measure, compare, adjust, and shoot with confidence, keeping the meter honest to the actual light.
Understanding Over and Under Exposure in Analog Negatives matters here because the meter is your first defense against both traps. A correct reading helps you avoid underexposed shadows or overexposed highlights. When you read your meter, you’re deciding where to place your exposure index on film, and that choice travels through development. In black-and-white work you might push or pull a bit, but the meter still guides you toward balanced detail. Your meter is a compass, not a rulebook.
Imagine a dim café with a bright street outside. Your meter helps you balance interior mood with believable window brightness. Trust the numbers, then adjust for film stock and developer. The more you read the meter in different lighting, the better you’ll understand how your film handles brightness. That familiarity becomes a superpower, reducing guesses and increasing certainty.
Meter reading for film basics
Your first step is to set ISO and choose a metering mode suitable for the scene. Light from windows, lamps, or open sky can push readings different directions, so adjust angle and distance to the light source. You’re aiming for a practical exposure that preserves detail in the tones you care about, not perfection. Consider whether you’ll push or pull in development, and how that alters the final look.
Always consider your subject and the mood. For color film, seek a reading that keeps skin tones natural and color balance intact. For black-and-white stock, you can push a touch for drama, but the baseline still comes from the meter. Practice with a few test frames to understood how your film responds to guidance from the meter, and note what you learn for future shoots.
When uncertain, take a second reading from a similar area or read a gray card if available. Consistency matters: use the same method every time so exposure decisions become automatic. As you gain experience, you’ll read scenes with your eyes and let the meter confirm your gut.
Easy camera meter tips you can use
Keep the meter at eye level; avoid pointing up or down, since angle changes can swing readings in high-contrast scenes. If unsure which mode to use, start with incident metering for a neutral result, then switch to reflected metering for tricky lighting. Incident reads light falling on the subject; reflected reads light reflected off the subject—each has a place depending on your goal.
When you point at a bright area, you’ll usually get a higher number, helping you avoid blown highlights, but shadows may suffer if you rely on it alone. If the scene demands very bright exposure, compensate with a bit of opening up or a stock with more latitude. Always compare the reading to the film’s latitude and your development plan.
In sun, shoot handheld and consider shade to reduce harsh contrast. A reflector can help you balance light and keep the meter’s job manageable. With practice, these moves become second nature, and your readings align with composition.
Fast meter checklist
- Check film speed (ISO) and set the meter accordingly.
- Choose metering mode (incident or reflected) based on the scene.
- Read from a neutral area and note the exposure suggestion.
- Compare the reading to your development plan (normal, push, or pull).
- Consider a quick test frame to confirm exposure before committing.
Fast meter checklist
- Confirm film stock and development plan before shooting to align readings.
- Use a gray card or neutral spot for consistent reflected readings when possible.
Understanding Over and Under Exposure in Analog Negatives
The balance you seek is a sweet spot where highlights aren’t blown and shadows retain texture. Your meter helps you land there, but you’ll often adjust for latitude in film by development. If you overexpose, you’ll brighten the image and may lose highlight detail; underexpose, and you’ll risk noise and blocked shadows. The meter guides you toward a practical exposure, then your film and developer work together to produce the final look.
In practice, you’ll read, expose, and then develop with your film’s latitude in mind. The more you understand this flow, the more you’ll enjoy shooting because you’ll see the results align with your intention. Remember, the goal is to preserve as much tonal range as possible while staying true to your scene’s mood.
Use film exposure latitude to save your shots
When you shoot with film, exposure latitude acts as a safety net. Some frames may look a touch bright or dark on the first pass, but the film can still pull detail from shadows or recover highlights if you use latitude wisely. You’re not locked into a single perfect exposure—you have room to maneuver. By selecting the right stock and exposing with care, you can rescue shots that seem lost at first glance. Latitude gives you breathing room in challenging light.
To make latitude work, plan for the lighting you’ll face and set your meter accordingly. In bright sun, you can overexpose slightly to preserve highlight detail while keeping shadows readable. Indoors, a touch of underexposure may help midtones. The aim is to keep the film within its comfortable range so negatives retain contrast without crushing it. With practice, you’ll spot scenes where latitude saves the shot before you click.
The payoff is consistency. Using latitude thoughtfully reduces time chasing exposure in post or dodging and burning. Negatives will show a balanced tonal range, and prints will have depth without flattening. This is practical skill, not magic: understanding film response to light helps you stay faithful to your vision.
Film exposure latitude explained
Exposure latitude is the range your film can handle and still reproduce usable detail. Some films tolerate overexposure better than others; some handle underexposure with surprising grace. Knowing this helps you decide when to protect highlights or preserve shadow detail and how much you can push or pull in development.
With latitude understood, you stop guessing and start guiding light. Films with broad latitude resist muddy blacks and blown whites, keeping shadows readable and highlights detailed. This safety net is essential in changing light—on location or in a dim studio—where every stop counts. You’re choosing stock and exposure strategy to keep your vision intact.
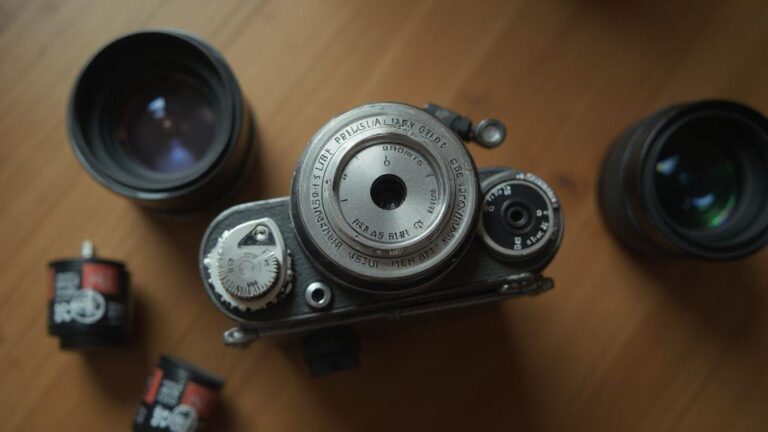
Pick film with the right latitude
Your film stock shapes every shot. For high-contrast scenes, choose a stock with wide latitude to capture bright skies and dark corners without losing detail. In even light, standard-latitude films can deliver clean, predictable results. Align the stock’s strengths with your typical subjects to minimize later rescues.
Sometimes a moderate-latitude stock fits your style for simple, reliable results. Other times you’ll want a stock that handles big swings in light. Your experience will tell you which films fit your eye and lighting setup. The right latitude helps keep your images faithful to your vision.
Simple latitude rule
Expose for highlights and let shadows fall where they may. If you’re unsure, bias toward preserving highlight detail. Meter for something bright, then apply a gentle exposure correction based on your stock’s latitude. If overexposure is forgiving, you can push a stop or two; if highlights blow out, err on the side of caution. This rule keeps your workflow straightforward and results steady.
Apply this in practice by metering a bright area, then adjusting for your stock’s latitude. If the stock tolerates overexposure, push modestly; if it’s sensitive to highlights, keep exposure conservative. This approach maintains consistency and predictability.
Use push processing to recover underexposed film
Push processing helps when film looks too dark because it didn’t receive enough light. Extend development time to recover shadows and midtones and increase density in underexposed areas. Expect more grain and contrast; the goal is to brighten shadows without making highlights bleed. Start small, test a couple frames at 1 stop, then 2 stops, and compare to normal development. The aim is to restore the moment’s detail without overdoing it.
Push is a practical tool for certain lighting, film, and scenes. It’s not a universal fix; anticipate higher grain and contrast when you push. The final look depends on your stock and scanning or printing workflow, so adjust accordingly.
When push processing techniques help
Push processing shines when exposure is low or light is tricky, such as in a dim room or late dusk. It yields more shadow detail and a gritty, cinematic vibe, but can compromise skin tones in portraits or reduce subtlety in bright scenes. Decide your final print or scan goals: bold contrast and texture, or clean, soft tones. Push can deliver the former but will increase grain; adjust your expectations and workflow accordingly.
If you’re unsure in the moment, test by shooting a few frames at deliberate overexposure and push them to compare results. You’ll learn how your stock reacts and what amount of push yields your preferred look. Keep notes to replicate successful settings later, turning experimentation into a repeatable skill.
If you’re scanning, model the adjustments in the scan workflow to preserve the look achieved physically. Apply a lighter touch to highlights during scanning to avoid halos. The goal is a cohesive result: the push-processed negative and the digital image should retain detail from sky to shadow.
How pushing affects density and contrast
Pushing increases density in underexposed areas by extending development, bringing back midtones and adding texture in shadows. It also raises overall contrast and grain. The look depends on the stock: some lift density with modest grain, others become gritty quickly. Push can suit a film noir vibe or a gritty documentary mood, but may be harsh on skin tones. Plan accordingly and test to dial in the right amount for future rolls.
Expect some trial and error. Shoot a frame, push, and compare to normal development to see density shifts and contrast changes. This hands-on feedback helps you tune future pushes.
Push processing quick steps
- Outline your plan for the push level (for example, 1 or 2 stops) and mark development time.
- Keep film consistent (same developer, temperature, agitation) to avoid introducing new variables.
- Process with the adjusted time and evaluate density and contrast on test strips or a few frames.
- Compare to normal development and note changes in shadow detail, contrast, and grain.
- Record findings to reuse successful settings on future rolls.
Use pull processing to tame overexposed negatives
Pull processing can rescue negatives that are too bright by extending development time at lower activity. This reduces contrast and allows midtones to carry more weight, helping recover shadow detail without shredding highlights. It’s like stretching dynamic range so bright areas retain texture. The grain becomes more forgiving, and edges stay readable. Pulling guides the film toward reveal rather than destruction in bright scenes.
Pull processing works best when you expect highlights to push. In landscapes with bright skies or high-contrast interiors, pull helps maintain skin tones and reveals clouds or brick textures. Negatives print with a softer feel, but detail remains if you manage timing and temperature well. Consistency in development steps ensures repeatable results.
When you scan, model pull adjustments in the digital workflow so the final image matches the physical negative. Scan with a lighter touch on highlights during processing to avoid halos. The goal is a cohesive pull-processed negative and digital output that preserves detail from sky to shadow.
When pull processing methods help
Pull processing is useful in high-contrast scenes where highlights threaten to dominate. Use longer development at lower temperature or a milder developer to slow contrast escalation, capturing a fuller tonal range. This preserves shadow detail without sacrificing too much highlight texture, especially for films with strong latitude. For a vintage, softer look, pull can deliver mood while maintaining usable tonal range.
For uncertain exposure, pull processing acts as a safety net. Test by shooting a few frames with deliberate overexposure and others with normal exposure, then pull them to compare results. Some scenes respond better to shallow pulls; others benefit from deeper ones. Keep notes to repeat successful formulas, turning experimentation into a reliable technique.
If you’re scanning, model the pull adjustments in post to align with the look achieved in-camera. Use a lighter touch on highlights during scanning to avoid halos. The result should feel cohesive: a pull-processed negative that scans or prints with preserved detail from sky to shadow.
How pulling lowers contrast and highlights
Pulling lowers contrast by extending development and spreading density across tonal zones, softening bright areas and preserving highlight texture. It helps you avoid clipped highlights while maintaining shadow detail, creating a more three-dimensional look. This makes the final print or scan easier to balance and more true to the scene.
Highlights retain texture rather than blasting to white, and shadows stay readable. Pull processing reduces the risk of a masked, white look in bright skies or reflections, producing a more forgiving negative that prints or scans with nuance. Understanding Over and Under Exposure in Analog Negatives becomes practical when you see how pull preserves mood in challenging lighting.
Pulling also serves as a tonal-control preface to shooting. You gain control over the final look before capture, reducing guesswork in exposure. The texture in highlights remains, such as gleams on metal or leaf edges, while overall mood stays intact.
Pull processing quick steps
- Start with a slightly overexposed frame by a known amount (for example, 1 stop).
- Use a gentler developer or reduce development time, then adjust based on test strips.
- Process a few frames to compare, noting shadows, midtones, and highlights response.
- Select the best pull level and apply it consistently to similar scenes.
Fix analog film exposure when you scan or print
You can fix exposure problems after capture, whether scanning or printing. The goal is to reveal detail in shadows and highlights without washing out midtones. Small exposure tweaks can translate into big improvements in contrast and texture. Treat exposure fixes like balancing a scale: keep darks, lights, and midtones in harmony to preserve texture in skin, fabric, and foliage.
Start by assessing what you have. Flat scans or low contrast often indicate underexposure or color balance issues; blown highlights suggest overexposure. Make small adjustments first and keep the goal in mind: retain tonal range so texture remains readable. Test tweaks on a small crop before committing to the full image. If printing, start with printer exposure and gamma, then fine-tune the print in a small area. If scanning, try a midtone lift or gentle contrast adjustment first. You’ll build a reliable workflow over time and learn what each fix can and cannot do.
Scan exposure and color correction tips
When scanning, exposure and color are your primary levers. Calibrate your scanner if you have a dedicated device; otherwise, use a neutral gray card as a baseline. A quick white balance check can unlock accurate skin tones and stabilize color shifts in blues and greens.
Make incremental adjustments. Increase exposure slightly and review the histogram and tonal range. If highlights clip, ease exposure; if shadows stay muddy, nudge exposure or adjust shadow recovery. Keep midtones smooth by avoiding extreme curves. Color correction should follow exposure tweaks: neutralize white balance, then apply modest saturation to avoid oversaturation of skin or skies. The aim is a faithful rendition that preserves the scene’s mood.
Scan at higher resolution/depth and apply selective adjustments later for control over fine details without muddying exposure. Compare the scan to a printed proof or monitor reference. If it reads off, adjust next time. Understanding Over and Under Exposure in Analog Negatives helps you know what a scan can fix and where to start.
Darkroom dodging and burning moves
Dodging and burning can rescue an image that’s too dark or light. Dodging eases light into a print; burning adds light to targeted areas after the general exposure. Keep moves small, gradual, and evenly applied to maintain edges and prevent halos. Use gentle passes to guide a viewer’s eye and preserve tonal balance.
Consider mood: a gentle dodge can lift life in a flat sky without washing the rest, while a careful burn can restore texture in deep shadows without muddy midtones. If something looks unnatural, back off and adjust. A balanced dodge and burn breathes life into the image without fighting your original exposure.
Scanning and print fixes
If a scan or print isn’t doing your scene justice, start with a focused correction in the problem area. For a flat scan, add contrast and a light midtone lift to recover texture. If highlights are blown, apply targeted recovery. In prints, use selective dodging and light burning to rebalance tonal range after the print has set.
Always check final output in controlled light. If color shifts appear after printing, revisit white balance and color correction during scanning, then adjust the print settings. A consistent workflow—scan, check exposure, adjust color, then print—saves time and prevents repeat fixes. You’ll feel more confident correcting exposure issues without starting over.

Junior Souza is a passionate analog photographer and the mind behind estoucurioso.com. With a camera always in hand and a roll of film never far away, Junior has spent years exploring the world through a 35mm lens — learning, experimenting, and falling deeper in love with the slow, intentional process that only analog photography can offer.
What started as pure curiosity quickly became a lifestyle. From testing different film stocks under harsh light to hunting vintage lenses at flea markets, Junior believes that understanding your tools is just as important as developing your eye.
Through estoucurioso.com, he shares everything he has learned along the way — the techniques, the mistakes, the references, and the stories behind the frames. His goal is simple: to build a space where beginners and enthusiasts alike can grow, get inspired, and never stop being curious.
Always learning. Always shooting.