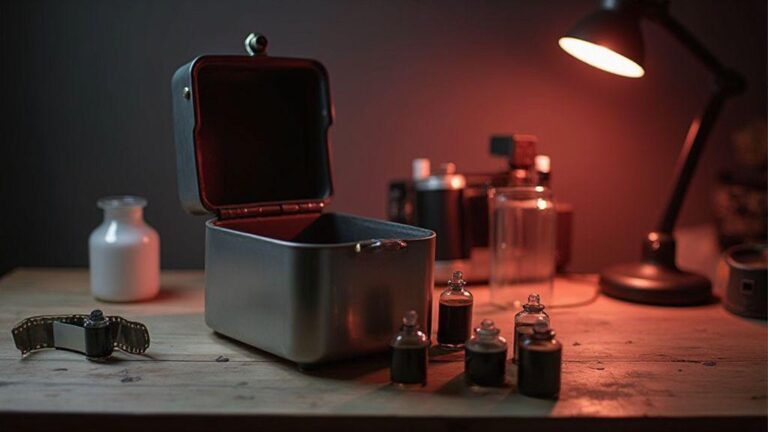
When to Push: Underexposure and Push Processing
This guide on Intermediate Push Processing Techniques for Film explains how and when to push film, the tradeoffs, metering, development times, and practical workflows to keep results predictable and repeatable.
Why you push film
You push to recover more tonal data in low-light situations. By extending development, the negative darkens shadows and reveals detail that might otherwise be lost. Expect higher contrast and more grain, but you gain usable images in dim conditions. Push processing lets you keep a faster shutter or a smaller aperture without sacrificing essential exposure—think of it as giving the film extra patience in the dark to earn back detail.
When underexposure calls for push
Push processing is useful when a scene is underexposed due to low light, fast action, or a small aperture choice. If shadows are near blank but highlights aren’t clipping, pushing can bring shadow detail back without blowing the highlight safety net. Real-life underexposure happens from forgotten ISO, misread lighting, or candid moments. Pushing helps recover usable data from negatives, producing images you’d otherwise discard.
Key tradeoffs to expect
Pushing adds density and contrast, resulting in more grain and a harsher look. You’ll trade some smooth tonal transitions for texture and edge. Development times lengthen and color balance may shift on color film. Dynamic range shifts: shadows rise, highlights can bloom, and midtones often feel punchier. Pushing isn’t ideal for a clean, cinematic look, but it’s powerful for dark scenes or a gritty vibe. Plan how far you push, since each stop brings these changes.
Metering for Push Processing
Push processing changes film response, so meter readings should account for the extra exposure. You’ll produce brighter negatives, shifting highlights and shadows after the push. Meter with intention to keep a controlled final look. Think of metering as setting a starting point before you shoot, then adjusting for the push factor.
Meter the scene as if building a ladder of stops. Decide how many stops you’ll push and aim to preserve detail in shadows and highlights after development. For high-contrast scenes, bias toward shadows so the push won’t crush blacks. For flatter scenes, bias toward preserving highlight information. Know your push amount before you shoot and plan exposure accordingly.
Your practice should be to meter with a plan. Use a gray card or the camera’s meter to lock a base exposure, then adjust for the push. A predictable negative density helps avoid muddy shadows or blown highlights after development.
How you choose spot or matrix
Spot metering targets a small frame area, helping protect tricky tonal ranges or critical shadows/highlights when you’re pushing. Matrix metering samples many frame parts for a general starting point, useful for quick shooting. With push processing, start with matrix for speed, then switch to spot for difficult areas to protect. Test both methods to learn how your film stock responds, aiming to keep final negative density within a comfortable range after the push.
Bracketing and exposure stops for push
Bracketing acts as a safety net when you push. A common approach is to bracket by 1 stop on either side of your base exposure. For example, if you’re pushing two stops on ISO 400 film, expose normally, then expose one stop under and one stop over to evaluate results. This helps identify the exposure that yields balanced density after development.
Exposure stops quantify the push. Decide how many stops to push before shooting and translate that into meter readings. Pushing two stops typically means exposing lighter than the base reading to retain shadow information. If highlights look too bright in test strips, back off by a half-stop. Plan your push, bracket lightly, and choose the reading that gives balanced density after development.
When you bracket, you create a small set of trade options to compare after development. Label your frames so you can correlate density with meter readings. Over time you’ll learn which bracket works best with your favorite stocks.
Metering rules to follow
- Always know your push amount before you shoot. If you push two stops, plan accordingly and bracket lightly around that target.
- Start with a reliable base exposure using a gray card or your meter, then adjust for the push.
- Use spot metering for tough tonal ranges, and matrix for general scenes as a baseline.
- Bracket at least once when you’re new to push processing.
- Label and track tests to correlate meter readings with final density.
- Note development times and chemistry if you’re mixing your own developer.
- Review test strips to preserve detail in shadows and highlights after the push.
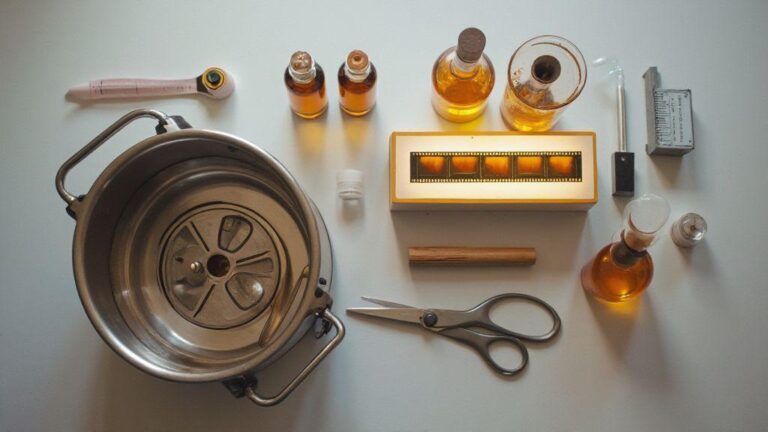
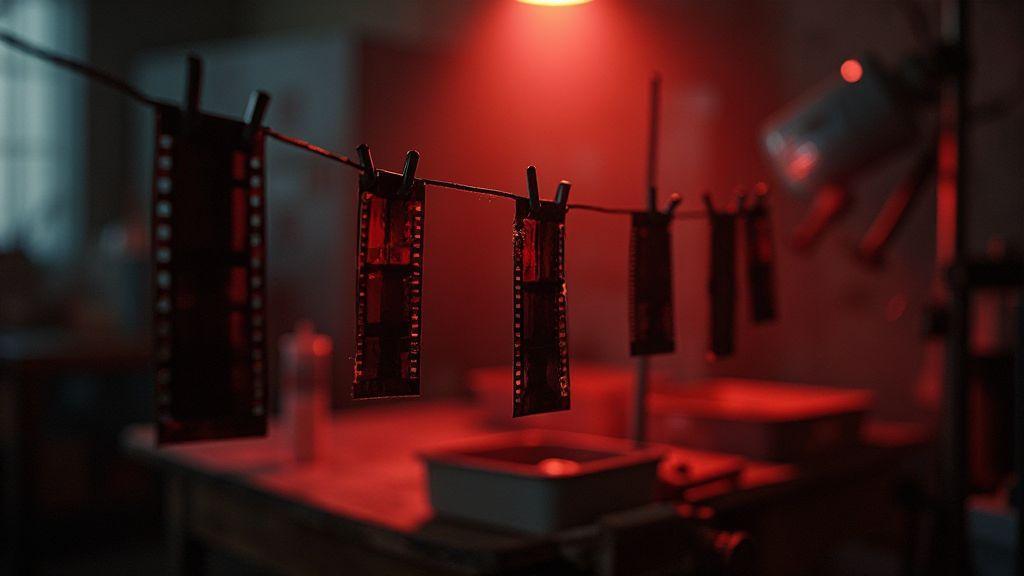
Adjusting Development Times for Push Processing
Push processing requires longer development to pull more detail from underexposed frames. Expect deeper contrast, more grain, and a shifted tonal curve. Start from your base development time, then add small increments to see how your film and developer tolerate the push without losing shadow detail or blowing highlights.
Don’t guess—measure. Treat each one-stop change as a test to refine contrast and density. If you push too far, grain increases and shadows may become noisy. Start with one stop and test before moving to two or three. Record results to build a reliable playbook.
Choosing a developer matters: some handle push with smoother midtones, others heighten contrast quickly. Keep agitation, timing, and temperature consistent for predictable results. Think of push processing as a controlled experiment and log your times to build a repeatable workflow.
How you change times by stops
Each extra stop deepens shadows and compresses highlights. For a standard developer, add roughly a minute per stop as a starting point, then adjust for film speed and exposure. When you shift another stop, recheck density on a fresh test strip. Your aim is legible midtones and controlled shadows, not overwhelmed by grain.
Film emulsion and push development
Different emulsions react uniquely to pushing. Some tolerate longer pushes with smoother grain; others show more pronounced grain and higher contrast. Note film type, developer, temperature, and agitation, as these shape the final look. Color negative film may shift color balance with push, so track chemistry changes.
Record your times
Keep a personal log for every roll: base exposure, push stops, development time, temperature, and agitation. Include film stock and any deviations. This log helps reproduce results or understand differences across shoots.
Grain and Contrast Control in Push Processing
Push processing changes grain and contrast. Pushing increases density in shadows and midtones, boosting contrast and grain texture. This effect is most noticeable in textured surfaces. If you want a cleaner look, push less or not at all; for a punchier image, push intentionally while balancing grain.
Practical ways to reduce visible grain:
- Use finer-grain stock or appropriate ISO with careful exposure.
- Use controlled lighting instead of relying on high push levels.
- Keep development times close to recommended ranges.
- Add contrast in post or via processing rather than relying on heavy push.
- Choose lenses and apertures that maintain edge clarity.
How push changes your grain and contrast
Push increases density in shadows and midtones, boosting overall contrast and grain. Expect more micro-contrast and sharper edges, which can feel cinematic but may read as speckled or muddy if overdone. Match the push level to your scene: light pushes for portraits in dim rooms; bigger pushes for street scenes with texture.
Practical ways you can reduce visible grain
- Select finer-grain film stocks or match exposure to push level.
- Meter to avoid excessive underexposure in key areas.
- Keep development times near recommended ranges for your push factor.
- Use lighting to lift shadows rather than heavy pushing.
- Apply selective post-processing to tame grain where it helps most.
Tradeoffs between contrast and grain
Higher push boosts contrast but almost always increases grain. You gain punchy blacks and bright whites, but risk noisy shadows and jagged midtones. If you want a cleaner look, reduce the push; for drama, embrace the grain as texture. Balance is key.
Black and White Push Processing Methods
Push processing in black and white enhances density, contrast, and grain. Adjust developer time and temperature to push beyond normal limits and achieve bold tonal range and grit. Start with a clear target contrast, then tweak time and temperature to hit that look without losing detail.
Different developers offer different responses: longer development or higher temperatures yield punchier results, while gentler options preserve midtones. Keep your method consistent to build predictable results across shoots. Watch grain carefully and test first before committing to a full roll.
For everyday shooting, use a standard push timing chart for your chosen developer, then tailor for camera and lighting. Test with small frames to dial in contrast and grain before committing to a full roll. A repeatable push method helps you craft a distinctive, reliable look.
Color Negative Push Workflow — Intermediate Push Processing Techniques for Film
Push processing color negative film balances extra exposure with color shifts. Fine‑tune development times, temperatures, and agitation to shape contrast and color fidelity. Small changes in developer strength or time can shift yellows toward green or blues toward purple, so test with a few frames first. Maintain a repeatable protocol so results stay predictable as you learn emulsion behavior. Your goal is to preserve usable color while increasing density.
With color negatives, shadows deepen and highlights bloom. Consider the intended look—punchy, cinematic, or vintage—and narrow the tonal middle to protect midtones while pushing edges. Log times and temperatures to backtrack if a frame looks off. Practice with single frames to dial in a signature look that respects the stock’s baseline color while adding density.
Practice makes confidence. Test one frame at a time, keeping notes on exposure, developer, and agitation. Compare before-and-after frames to see how push affects color balance and grain. Use a reference shot from a similar stock. With patience, you’ll dial in a repeatable, signature look.
Push processing color negative film tips for you
When pushing, you’ll often shorten development time and adjust temperature. Start with a small sample reel for a 1–2 stop push. Expect deeper shadows, more contrast, and possible color shifts (yellow toward green, blue toward purple). Tweak developer concentration or reduce agitation to tame color shifts, aiming to keep skin tones believable.
Note agitation patterns: gentle, even agitation helps control grain and prevents splotchy highlights. Fresh chemistry matters—old developer skews color and density, especially on push. Use a consistent rack and keep the reel moving evenly to avoid uneven development. After fix and wash, perform a quick color check to catch off tones before drying.
Lab vs home processing and your workflow
Lab processing offers consistent temperature and agitation, which helps with push. Home processing gives you control and quick feedback, but requires a strict routine: measure each bath, maintain temperature, and log deviations. If curious about a look, test it on a single reel at home first. Your workflow will differ: labs handle push math; at home you control steps from pre-soak to final rinse. Clear notes and a calm method help you reproduce or adapt results across shoots.
Final workflow checklist
- Confirm target push level before you begin.
- Prepare fresh developer and maintain a stable temperature.
- Use a consistent agitation pattern and time each bath precisely.
- Test a small section first and compare to a reference.
- Log all variables: film type, ISO, exposure, dev time, temp, agitation, results.
- Check color balance after fix and wash; adjust if needed.
- Dry fully in a dust-free area and inspect under good light.
- Repeat or scale the process only after confirming predictable results.
How you pick developer and agitation
Choosing a developer is like selecting a spice for a dish. It defines how the film responds and how bold the finish will be. Consider how the developer handles contrast, grain, and latitude. For punchier street imagery, pick a developer known for higher contrast. For portraits with smoother tones, choose one that yields gentler gradations. Agitation matters too: longer or stronger agitation increases development speed and contrast; lighter agitation can give cleaner blacks. Keep a small log of brands and agitation styles, including temperature and timing, and compare results side by side.
Testing strips and keeping notes
Testing strips are your safety net. Process strips with small variations to see how each change affects the final image. Note the developer, temperature, agitation, and results. Highlight strips that hit your target contrast and grain level so you can reproduce them later.
Keep notes simple but precise: stock, developer, push level, time, temperature, agitation, results, and a quick visual note on shadow detail, midtone smoothness, and grain. Review results regularly to identify consistent wins and patterns, then build a repeatable setup that fits your style.
Testing and note-taking
Keep testing focused and repeatable. Start from a known baseline, then vary one factor at a time. Document every choice clearly so you can recreate it later. Use a simple template: stock, developer, push level, temperature, time, agitation, results, and verdict. Include a quick image note for shadows and highlights. As you accumulate results, you’ll spot patterns—certain films respond best to specific agitation or initial starts, helping you refine your process across lighting conditions.
This version preserves the core guidance of the original article while tightening redundancy and enhancing SEO with the targeted phrase, especially in the opening and in the Color Negative Push Workflow section.

Junior Souza is a passionate analog photographer and the mind behind estoucurioso.com. With a camera always in hand and a roll of film never far away, Junior has spent years exploring the world through a 35mm lens — learning, experimenting, and falling deeper in love with the slow, intentional process that only analog photography can offer.
What started as pure curiosity quickly became a lifestyle. From testing different film stocks under harsh light to hunting vintage lenses at flea markets, Junior believes that understanding your tools is just as important as developing your eye.
Through estoucurioso.com, he shares everything he has learned along the way — the techniques, the mistakes, the references, and the stories behind the frames. His goal is simple: to build a space where beginners and enthusiasts alike can grow, get inspired, and never stop being curious.
Always learning. Always shooting.