How Framing with Foreground Elements for Depth in Photos helps you
When you add foreground elements, you guide your viewer’s eye right where you want it. Foregrounds create instant depth, making your subject feel real rather than flat. A mug on a desk or a leaf dipping into the frame adds layers that pull the viewer in and shape how the scene unfolds. By choosing items in front of your main subject, you control what’s seen first and how the rest reads.
Foreground elements act like doors into the story you’re telling. They hint at scale, mood, or place without words. Big shapes or textures—like a blurred railing, a twig, or a window frame—frame your subject so the eye travels through the scene. This adds interest and helps the viewer feel present with your subject, not just looking at a picture.
Experiment is easy. Move a foreground object slightly, shoot from a lower angle, or change the blur. You’ll quickly see how these choices alter emphasis and vibe, yielding a dynamic photo that stays true to your moment. Framing with Foreground Elements for Depth in Photos becomes a natural practice.
See more depth and scale
Depth shows when the foreground is crisp and the background softer. This contrast signals distance and makes your subject pop. You can exaggerate depth by placing something close and another thing far away, then focusing on your subject. Your photo becomes a story with a clear beginning, middle, and end.
Scale comes alive when you compare nearby objects with your subject. A close foreground item can show how big the scene is relative to your subject. Try a ribbed plant stem in the foreground while your subject sits in the distance. Your photo reads as bigger than the frame.
Make your subject pop
The simplest trick is to keep the foreground element out of focus while your subject stays sharp. This blur pushes the eye toward the subject, making it feel more important. A clean separation looks professional without complicated gear.
Another route is to place a strong foreground piece that guides attention. A bright line, a frame, or a bold texture can lead the eye directly to your subject. Be selective—too many foreground items can confuse the viewer.
Fast benefit summary
Framing with Foreground Elements for Depth in Photos gives you immediate depth, better scale, and stronger subject impact. You can test small changes and see big differences in minutes.
Choose foreground elements for your shots
Your foreground choices are the first thing your viewer sees. Pick objects that add contrast or tell a tiny story without overpowering the subject. Think textures, colors, or familiar shapes that draw the eye toward the center. If you’re shooting a person, a door frame, a railing, or a fallen leaf can act as a natural guide, hinting at where to look next. The goal is to anchor the scene with a simple, strong element that adds depth and doesn’t steal attention. Practice with common items around you—a mug, a plant, or sunglasses—so you feel confident using foregrounds in real moments.
Consider how your foreground sits in relation to your subject. Low-angle shots or slightly tilted horizons can make foreground items feel closer and more immersive. If you’re in bright light, use a close foreground to create a sense of space behind it. Foreground elements should be intentional, not accidental; they should frame your subject, not obscure it. When you get it right, your photos feel more alive, as if you’ve pulled the scene a notch closer to the viewer.
Experiment: place a small, textured object a few inches from the lens and swap it for something smooth or colorful. You’ll learn what works with your camera’s depth and your subject’s personality. Keep the foreground modest so your main subject still shines.
Pick nearby objects for scale
For scale, choose items that clearly relate to your subject’s size. A tiny flower beside a towering building makes the contrast obvious, while a book in the foreground can show how big someone is relative to it. If you’re photographing a person, a hand or a purse in the foreground often reads as everyday life, giving viewers a real sense of distance. In landscapes, a person, a railing, or a fence post near the camera helps the brain judge distances.
Scale should feel natural, not contrived. Place the scale item so it doesn’t block the subject’s face or path. If the line of sight would naturally pass through the foreground, you’ll achieve a more convincing sense of depth. Test a few options quickly; you’ll learn which items make the subject pop without looking staged. The goal is to guide the eye gently, not reveal a secret trick.
Avoid clutter that steals focus
Clutter is the enemy of depth. If too many things fight for attention in the foreground, your viewer won’t know where to look. Choose one or two clean foreground items that complement the subject. Remove distractions like stray cables, busy patterns, or overlapping shapes that collide with your main point. Lighting helps curb clutter too; a gentle shadow or subtle highlight on your foreground piece can separate it from the rest of the scene. If you can’t move clutter, adjust your angle so the dominant texture or color is the strongest cue in the frame. Remember: less is more when depth is the aim.
Simple selection rule
Choose one foreground element that adds texture, color, or shape and clearly frames the subject. If you’re unsure, pick the item closest to the lens with a simple silhouette. That item should lead the eye toward your subject, not away. This keeps your composition clean and effective, making it easier to recreate successful shots later. Your framing will feel intentional, and your photos will consistently communicate depth.
Camera settings to create depth in photos with foreground
You want your photos to feel like you can step into them. Depth is the key, and the foreground is your secret weapon. When you set up your shot, consider what sits in front of your main subject. The foreground can guide the eye, add texture, and make the scene feel real. You’ll see more dimension when the foreground is visible but not overpowering. Keep your gaze on the whole frame, not just the subject, and use the foreground to tell a richer story.
The goal is to separate layers. A well-chosen foreground adds contrast and leads the viewer through the image. If the foreground is busy, it can overwhelm the subject. Choose something simple but interesting—a rock, a leaf, or a railing—and let it breathe. Depth comes from how you handle light, angle, and focus, not from piling elements in. Think of the foreground as a bridge between you and the subject.
As you practice, compare shots with and without foreground. You’ll notice the difference in depth and mood. Use a lens and settings that let you control blur and focus precisely. With the right foreground, your photos stop feeling flat and begin telling a story you can feel in your bones.
Use aperture to control blur
Your aperture is your depth control switch. A wide opening (like f/2.8) makes the background blurrier, so your subject pops forward. That creamy blur helps the foreground stand out without stealing attention from the subject. If you want more detail in the foreground while keeping the subject sharp, try a mid-range aperture (around f/5.6). You’ll get enough depth to see texture in the foreground and still keep the subject crisp.
Try this: position your subject about a shoulder’s width behind a foreground element. Open your aperture to blur the background slightly, then adjust to keep some foreground detail in focus too. You’ll notice how the combination of foreground texture and a sharp subject creates a strong sense of place. If the foreground is essential, stop down a little (f/4 to f/6) to retain its texture while keeping the subject clear.
The key is balance. Too much blur and the foreground disappears; too little and the subject competes with it. The blur is a tool to guide the eye, not waste. Use it to sculpt depth.
Set focus on your main subject
Your main subject should be the clear star of the scene. Focus on it precisely, letting the foreground sit a touch behind or softly in front, depending on your blur. If the foreground is on the same plane as the subject, depth may muddle. Lock focus on the subject, then use your aperture to control how much of the foreground appears sharp or soft.
Live view or single-point autofocus helps you place the focus exactly. If you’re shooting moving subjects, a small burst can catch the moment when the subject is crisp and the foreground carries texture. Recheck focus after adjusting composition, especially if you change distance to the foreground.
Practice lining up frames where foreground lines lead to the subject. When you see the line from foreground to subject clearly, depth pops. This is Framing with Foreground Elements for Depth in Photos—your foreground becomes a guide, not a distraction.
Starter settings
Begin with a moderate aperture to balance detail and blur, around f/5.6. Keep your shutter speed fast enough to avoid camera shake—1/125s or faster for everyday subjects. ISO can stay low with steady light; raise it slightly in dim conditions. Focus on the subject, and let the foreground fall into a softer plane to emphasize depth. If you’re new, shoot a few frames at different distances to the foreground and compare. Tweak distance, aperture, and focus until you see a natural sense of depth that feels right.
Foreground framing techniques you can use
Frame with natural shapes you find
Look for natural shapes to frame your subject. Rocks, trees, or leaves can create a built-in frame. Position your camera so the shape surrounds the subject just enough to guide the eye. Shoot slightly off-center to avoid clutter and keep the subject clear. Use lines from nature—like a winding path or a row of bushes—to lead the viewer toward the subject. Balance the frame so the foreground remains present but not obtrusive. For drama, symmetry—like a doorway of branches or a circular ring of rocks—can frame the subject, but keep the frame thin so the subject isn’t boxed in.
Use doors, windows, or branches to frame
Doors, windows, and branches are reliable foreground tools. A window creates a rectangular gateway that directs attention to the subject inside. Stand slightly to one side so the frame borders cleanly. Branches offer an organic boundary; top and sides frame the subject without stealing focus. Open doorways create drama through contrast between dark indoors and bright outdoors. Choose leading lines that converge toward the subject to heighten depth.
Easy framing moves
Try a peekaboo move: partially obscure the subject with a foreground element. Shoot slightly below or above the subject and let a foreground shape fill the frame. A touch of tilt adds dynamic interest and a three-dimensional feel. Keep lighting soft in the foreground to prevent harsh contrast; a light foreground lets the subject glow naturally.
Use foreground blur for depth in your images
Foreground blur helps your image feel three-dimensional. Blur the foreground and let the main subject stay sharp. Practice with simple scenes—a person against a busy street, or a foreground flower with a distant skyline. Foreground blur reduces distraction and makes the subject stand out. The approach becomes second nature once you see how foreground layers guide the viewer’s eye.
Open aperture for soft foregrounds
Wide apertures yield soft foregrounds, pushing the subject forward. Balance exposure with shading or a lower ISO to keep the subject crisp. Experiment with different distances—the closer the foreground to the lens, the stronger the blur. You’ll notice the eyes drawn to the subject as the foreground dissolves into creamy blur, achieving depth with intention.
Move lens closer to increase blur
Moving the lens closer to the foreground increases blur and strengthens depth without extra gear. Be mindful of framing to avoid blocking the subject or distortion. Start at a comfortable distance and inch closer in small steps. Handheld steadiness helps maintain subject sharpness while the foreground blur stays smooth.
Blur checklist
- Ensure the subject is in sharp focus.
- Place a foreground element between lens and subject.
- Use a wide aperture to soften the foreground.
- Move closer to the foreground for stronger blur.
- Check edges to avoid distractions.
- Keep the background simple.
- Review and repeat with small changes.
Combine leading lines and foreground elements to guide viewers
Leading lines that start in the foreground and run into the scene steer the viewer toward the subject. Place a branch, fence, or path close to the camera to invite the eye along the line toward the subject. Balance the foreground with the main subject so neither overwhelms the other. A nearby stone wall or a row of flowers leading toward the subject can guide the gaze without shouting. Practice small moves—adjust the foreground and test the composition—to maintain a harmonious front-to-back flow where the subject lands at the line’s end.
Lead the eye from front to back
Plant something bold in the foreground and guide the viewer through the frame. A bright leaf, a textured surface, or a patch of light acts as a breadcrumb toward the subject. Use contrast to sharpen the journey—lighter foreground against a darker background, or vice versa.
Layer lines for stronger depth
Layering lines creates real depth: a strong line in the foreground, a softer one mid-frame, and the subject in the distance. Break long lines with slight gaps or curves to avoid monotony. A fence bend or water ripple adds interest while guiding the gaze, making the photo inviting to explore.
Composition steps
1) Look for a bold foreground element to frame or lead. 2) Position the subject at the end of that line. 3) Balance light and dark areas to support the foreground. 4) Shoot from a slightly lower angle to exaggerate depth. 5) Review and tighten anything that distracts from the path.
Portrait framing with foreground tips for better portraits
Foreground elements add depth and mood to portraits. Think of the foreground as a doorway into the subject’s world, not a distraction. A shallow depth of field with a soft foreground blur can feel intimate, while a sharp, textured foreground adds grit and character. Balance is key: the foreground should enhance, not cover, the subject. Simple items like plants, window frames, or a fence can transform a portrait’s feel when used thoughtfully.
In outdoor portraits, a leaf or branch near the lens can hint at season or location. Indoors, a doorway, curtain, or piece of furniture can frame the subject like a scene in a play. The aim is to guide the eye, create depth, and keep the subject recognizable amid surrounding texture.
Use foreground to add mood and intimacy
Careful foreground placement sets the mood quickly. A soft, out-of-focus foreground can create a dreamy vibe, while a bold edge (like a window frame) can add drama. Foreground helps tell a story of closeness, making the viewer feel like they’re peeking from behind something. A shallow depth of field keeps the subject crisp while the foreground remains softly out of focus, adding life to the portrait.
Align foreground elements with the subject’s eyes or features to guide attention. Keep foreground items non-distracting with simple shapes and complementary colors, so the subject remains the focus.
Keep the subject clear and separate
The subject should stay the star. Use foreground sparingly and purposefully so the subject remains crisp and recognizable. A foreground just below or beside the face can help separate the subject from texture, preserving clarity. Color contrast—cool foreground versus warm subject—also helps the eye lock onto the subject quickly.
Portrait setup
Choose a simple foreground that won’t overwhelm the subject. Place the foreground element just in front of the lens, not directly between you and the subject, so the subject remains sharp. Look for natural lines outdoors or architectural frames indoors to guide the eye toward the face. Maintain consistent distance to keep the foreground as a companion, not a competitor.
Build landscape depth with foreground elements
Foreground items like small rocks, a blade of grass, or a puddle can anchor the view and suggest distance, pulling the viewer into the scene. Use textures and colors that contrast with the midground and background. A weathered fence post, a lone flower, or a wrinkled leaf can act as a doorway into the landscape, kept simple so the eye moves smoothly from near to far.
Place a near object to anchor the view and lead into the rest of the scene. A crack in the sidewalk, a small stump, or a textured leaf can start the eye and guide it toward the midground. Link foreground to midground and background with lines that run through the frame. Match color and texture between layers to keep transitions smooth, using shifts in light to blur edges gently.
Landscape rules: aim for a strong foreground, a clear middle, and a soft background. Keep the horizon balanced to support depth, and vary your perspective by moving closer to the foreground or stepping back. Kneel or lie down to discover new depth.
Practice compositional foreground layering and post-process fixes
Think of your photo as a sandwich: foreground, middle ground, and background. Start with a clear foreground element—like a leaf, railing, or street sign—placed close to the lens to set up three-dimensional depth. After shooting, apply quick post-process fixes: sharpen the edges near the foreground, soften harsh highlights, and balance exposure so the foreground remains rich without washing out the background. Subtle edits beat loud ones. Framing with Foreground Elements for Depth in Photos is a practice you’ll return to.
Experiment with depth by moving the camera or changing stance to alter what counts as the foreground. In post, fix any misalignment and use light clarity on the foreground to make it pop, then soften the background to keep it legible but non-distracting. If lighting is harsh, boost foreground exposure slightly and dodge the background to preserve detail. With practice, the foreground acts as a portal into the rest of the scene.
Keep drills focused: frame, shoot with clean horizons, and apply small post fixes. The foreground should invite the viewer in, not overpower the shot. Test different color tones in the foreground to harmonize the rest of the scene. When mastered, your photos will carry natural depth that reads clearly at a glance.
Edit contrast and blur to enhance depth
Boost contrast where the foreground meets the scene to make it pop, then apply a gentle blur to the background to push it farther away. Use a subtle mask to keep the blur behind the subject. Fine-tune selective sharpness in the foreground to reveal texture without making the background noisy. If halos appear, reduce sharpening and rely more on contrast. Use targeted masks to keep edits focused on foreground clarity and background smoothness.
Do quick practice drills for speed
Set a timer and frame three quick shots: strong foreground anchor, softer foreground, and close foreground for dramatic depth. After each round, apply two minutes of post-processing: boost foreground contrast, apply light blur to the background, and check edge sharpness. This builds speed and a reliable eye for depth in real-world shoots.
Another drill: shoot at the same location with three lenses. Compare how each affects the foreground-to-background relationship and how you must adjust post. The goal is speed without sacrificing depth or natural look.
Daily practice tip
Every day, pick one small scene and frame it with a clear foreground, then edit for depth in under five minutes. Consistent, tiny wins compound into sharper eyes and faster edits, helping you frame with foreground elements for depth in photos with confidence.

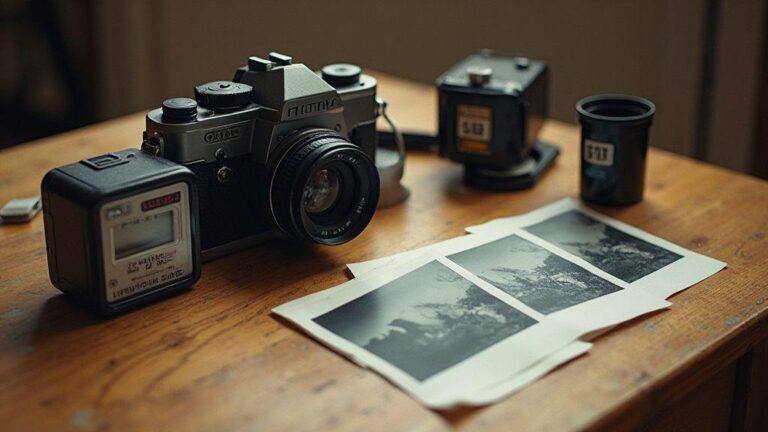
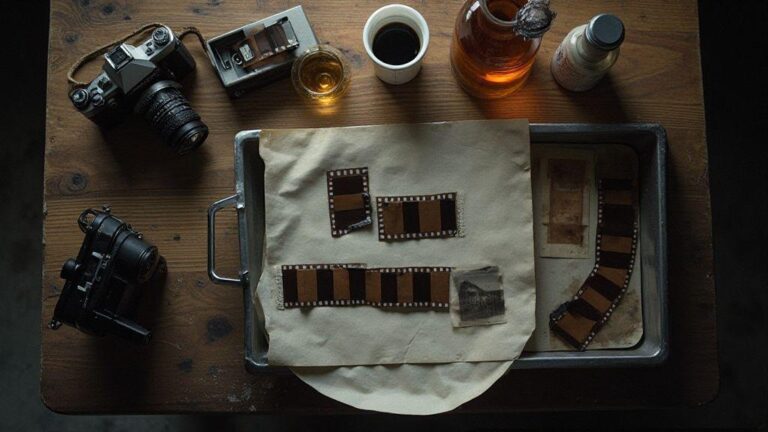
Junior Souza is a passionate analog photographer and the mind behind estoucurioso.com. With a camera always in hand and a roll of film never far away, Junior has spent years exploring the world through a 35mm lens — learning, experimenting, and falling deeper in love with the slow, intentional process that only analog photography can offer.
What started as pure curiosity quickly became a lifestyle. From testing different film stocks under harsh light to hunting vintage lenses at flea markets, Junior believes that understanding your tools is just as important as developing your eye.
Through estoucurioso.com, he shares everything he has learned along the way — the techniques, the mistakes, the references, and the stories behind the frames. His goal is simple: to build a space where beginners and enthusiasts alike can grow, get inspired, and never stop being curious.
Always learning. Always shooting.