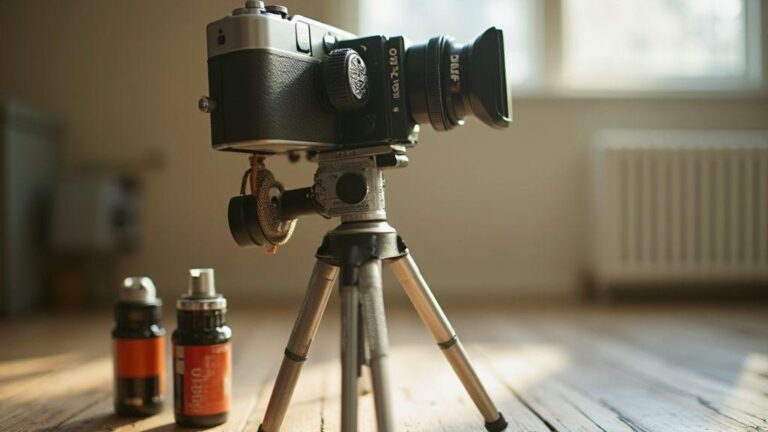
Protect your vintage lenses with essential lens filters
You use vintage lenses because they have character, not because they vanish in the rain. A simple, clear protective filter acts like a shield for the glass you love. Think of it as a camera screen door: it takes the scratches, dust, and fingerprints so your precious optics don’t wear down. With the right filter, you can keep your glass pristine without changing how your images look. This is where Essential Lens Filters for Protecting Your Analog Optics come in—protect, don’t alter, and you’ll keep your favorite glass usable for years.
When you’re out shooting in tough weather or crowded events, a dirty or scratched front element steals contrast and adds haze. A protective filter keeps the hard stuff off the actual lens, so you don’t have to rinse, polish, or worry about little accidents. You’ll notice clean, clear results stay consistent, and your future self will thank you for sparing you from costly repairs or reseating elements.
Even if you mostly shoot indoors, dust and accidental bumps happen. A small, inexpensive filter is a small price to pay for avoiding big headaches. It’s easy to swap in and out, and you can keep a few handy for different lighting or scenes. Your workflow stays smooth, and your vintage glass keeps its soul intact.
Why a clear protective lens filter helps your glass
A clear protective filter is like a shield you can wipe clean in seconds. It protects the front element from scratches, fingerprints, and moisture that can eat into image quality over time. You won’t regret having a barrier between your glass and the world.
The filter adds a layer that’s easy to replace if it gets hit or dirty, so you don’t damage the actual lens. It preserves your lens’ sharpness, color, and personality, which is exactly what you want when you’re shooting with analog glass. It’s a small step that makes a big difference.
When to leave a filter on your lens
For everyday tasks like indoors portraits or studio work, a clear filter is a safe default. It keeps your glass clean without changing your look. If you’re traveling or shooting in rough weather, the filter stays on as a barrier against rain, dust, and scrapes.
If you’re chasing extremely high contrast or micro-detail, you might test removing the filter for a shoot to see if your results change. Most days, you’ll keep it on, because it preserves your glass and your peace of mind.
Use a screw-on lens protector for daily shoots
A screw-on protector is simple and reliable. It threads onto your lens just like the original lens cap, but it stays on as you shoot. You can grab it in a rush and know your front element stays safe. It’s a no-fuss option that blends with your workflow.
For quick daily shoots, this is the easiest protection you can add. You won’t risk misplacing a cap, and you’ll still keep your hands free to compose and shoot. It’s a small habit that protects big investments in your vintage kit.
Pick the right material and coating
Choosing the right material and coating starts with knowing what you shoot and where you shoot it. If you’re chasing durability in dusty or humid environments, you want materials that resist scratches and stay clear under pressure. For everyday use, a lighter, affordable option can be enough, but you still deserve protection from glare and flare. Your goal is to keep your images crisp and colors true, even when the sun is harsh or you’re shooting through glass. Think about how you handle your camera in the field: quick changes, accidental bumps, and the risk of fingerprints. The material and coating you pick should resist those real-world hazards without slowing you down. Your choice should balance strength, weight, and cost.
Multi-coated options bring a big advantage here. A good coating fights reflections from both sides of the filter, so you lose fewer stray light spikes that wash out contrast. In practice, that means your images stay sharp when you point toward bright skies or sunlit scenes. If you shoot video or fast-action, this clarity can mean the difference between a clean shot and a washed-out frame. You’ll notice less ghosting and fewer color shifts across the frame, which is especially helpful for wide angles where reflections sneak in from many directions. The coating also helps with durability; day-to-day handling won’t wear down the look of your glass.
When you pick, ask yourself how easy it is to clean and how well it handles fingerprints. A coated filter should wipe clean without leaving smudges that steal light. If you build a kit for travel, a sturdy filter with reliable coatings saves you time and worry in changing light. You want something you can count on, not something fragile you’re afraid to use. In short, choose materials that survive your rhythm—shoot, wipe, shoot again—without fighting you every step of the way.
Benefits of a multi-coated protective filter
Multi-coated protective filters improve how you see your scene. They cut glare, so your colors stay accurate and your contrast stays strong, even when you’re facing a bright sun or a streetlamp at night. This means you get cleaner skies, truer skin tones, and less haze in the distance. You’ll notice a more natural transition between light and shadow, which helps when you’re trying to capture detail in both highlights and shadows.
Another big win is flare reduction. When light hits the lens from odd angles, reflections can bloom and wash out your subject. A multi-coated filter absorbs some of that stray light before it hits your lens, keeping your subject crisp. This is especially helpful when you’re shooting against a bright window or when the sun is high in the sky. You’ll spend less time chasing the perfect angle and more time framing your shot.
Durability comes with coatings too. The hard layers guard against everyday wear, so you can bring your camera out in the rain or on windy days without worrying about micro-scratches. If you’re swapping filters often, the coating helps keep each piece clear and ready for action. In practice, you’ll find that your workflow stays smooth because your view through the viewfinder stays clean and your images stay consistent across shoots.
Glass vs resin: what suits your camera
Glass filters offer excellent clarity and color fidelity. If you’re chasing sharp, true-to-life results, glass is your friend. It resists scratches well and keeps a steady edge in details, which matters when you’re photographing landscapes or architectural lines. If you’re often shooting in controlled environments or you swap filters carefully, glass can be a reliable choice that stays clean longer between cleanings.
Resin filters are lighter and can be easier to handle on a long day of shooting. They’re more forgiving if you drop one or knock it against something—less prone to shattering than glass. This makes resin a practical pick for casual photographers or travelers who want less weight in their kit. For most everyday scenarios, resin gives you good performance with less bulk, which helps when you’re moving quickly from scene to scene.
Consider your camera body and lens size, too. If you have a rugged outdoor setup, glass with strong coatings might be worth the extra weight for the protection and clarity you gain. If you’re scouting city scenes or travel photography where you carry gear all day, resin can feel more comfortable in your hands. Your choice should fit your style: the most important thing is that you use what protects your lens without adding friction to your workflow.
Coatings reduce reflections and flare
Coatings knock down reflections from both sides of the filter, keeping your image clean. That means you’ll waste less time trying to mentally strip glare in post, and more time framing the shot you want. You’ll notice richer blues in skies and truer skin tones with fewer color shifts caused by stray light.
With fewer reflections, you also get better contrast in scenes with strong backlight. That helps your subject pop instead of getting swallowed by bright edges. In practice, you’ll feel the difference when you’re shooting under a harsh sun or near bright windows—your edges stay crisper, and your highlights don’t blow out as quickly.
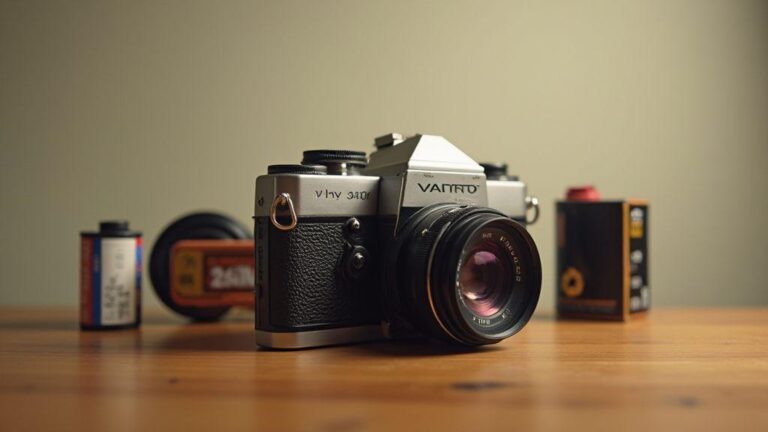
UV filter basics for film cameras
Use UV filter for film cameras smartly
You may notice that a UV filter can slightly reduce haze in outdoor shots, but its effect on film is subtle. In practice, a bare film emulsion often already handles UV light reasonably well, so you won’t see dramatic changes in contrast or color from a UV filter alone. Still, a clean UV filter can keep dust and fingerprints off the lens surface, helping you avoid flare or soft edges caused by stray grime. If you’re shooting black and white, the impact is even less noticeable, as the film’s own grain and contrast dominate the look. The key is to test with and without the filter on a few frames you can compare side by side, so you know what your specific film stock and lighting environment do with or without it.
When UV helps protect analog lenses
Protecting your glass matters more than you might think because a scratch on a front element is hard to fix. A UV filter acts like a shield you can easily wipe clean, especially in dusty or salty air. If you’re shooting outdoors near sand, sea spray, or snow, a UV filter can prevent minor contact with grit that could scratch the lens. You’ll save money over time by avoiding trips to the repair shop for front-element damage. Think of it as a spare layer of defense you can replace cheaply if needed, without changing your lens.
Common UV uses for vintage gear
Vintage cameras often pair with older lenses that aren’t perfectly coated or sealed. A UV filter is a simple, low-cost upgrade to keep the front element safer during travel or casual use. If your camera lives on a shelf most days, using a UV filter while you shoot outdoors gives you peace of mind without altering your workflow. In sunny climates, you might notice a small benefit in keeping flare down when you’re chasing bright highlights, especially on old glass that leaks light more easily.
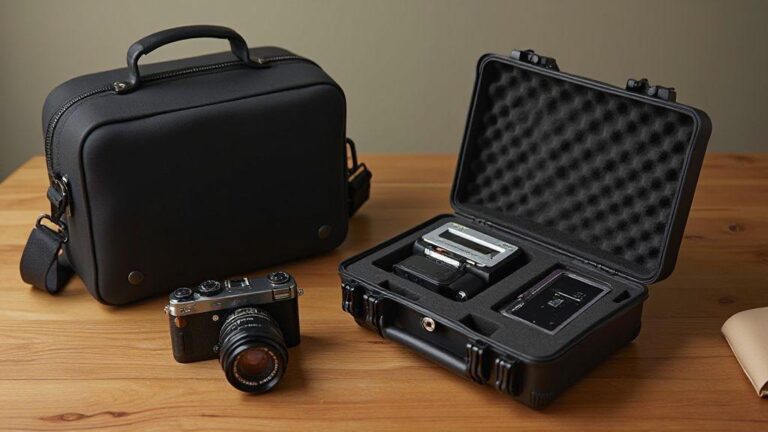
Match filter size and mounting to your lens
When you pick filters, you want things to match your lens perfectly. Start by knowing your lens’s diameter, usually stamped on the front rim. If you’re unsure, check your manual or the barrel where the filter threads live. You’ll want to confirm both the thread size and the mount type so you don’t end up with something that doesn’t fit or causes vignetting. Your goal is a clean, snug fit that stays put, even when you’re shooting on the move.
Next, you’ll want to understand the difference between screw-on and bayonet mounts. Screw-on filters thread onto the front of the lens using the diameter you read on the rim. Bayonet or adaptor filters slip into a mount designed for quick changes, but you still need to know the exact size to avoid gaps. If you own multiple lenses, you can save time by using step-up rings that let you thread larger filters onto smaller lenses. This means you can use a single high-quality filter across several lenses, cutting clutter and keeping your setup simple. Your choice should reduce the risk of accidental drops and keep your workflow smooth, not fiddly.
Lastly, consider filter protectors. A screw-on lens protector sits in front of your glass, shielding it from scratches and small impacts. If you’re using a protector, make sure it threads or clamps securely without adding bulk that makes handling awkward. A well-fitted protector should be barely noticeable in your shot but offer real defense when you’re shooting in windy scenes or crowded spaces. The right combination of filter size, mount, and protector sets you up for consistent results.
How to read thread size and fit filters
Thread size is printed on the lens barrel in millimeters. Look for a symbol like φ and a number, such as φ58. That number is your magic key. If you lose the exact size, you can measure the outer diameter with a ruler or caliper, but measuring across the threads is easiest. When you buy filters, pick the same thread size as your lens. A filter that’s too small won’t screw on, and a filter that’s too big won’t sit flush and can cause vignetting. Your goal is a clean, seamless fit that sits perfectly against the front glass.
Next, you’ll want to check the thread pitch if you’re getting specialty filters. Most hobby lenses use standard thread pitches, but some pro lenses have unusual ones. If you’re not sure, bring both the lens and a sample filter to the shop or check the specs online. If you’re shopping online, read the Q&As and customer photos—people often point out mismatches. Keep your eye out for the word fits alongside the measurement. A filter marked 58mm fits 58mm threads is your friend.
Use step-up rings and screw-on lens protectors
Step-up rings let you use a larger filter on a smaller lens. They’re affordable and versatile. If you own a few common sizes, you can mix and match without buying a full set of filters for every lens. You’ll save money and reduce clutter. The key is to pick high-quality rings with precise threading; cheap rings can strip threads or introduce tiny gaps that invite dust. A solid ring gives you confidence when you’re scrambling to adjust in a busy setting.
Screw-on lens protectors are your quick shield against nicks and scratches. They thread on with the same rule: match the lens size. If you’re shooting near crowds or in messy environments, the protector is worth its weight. It’s thin enough not to affect image quality, but sturdy enough to take the hit if you bump a wall or a branch. When you stack a protector with a filter, ensure the stack doesn’t vignette—test a few shots at wide angles to be sure.
Avoid vignetting with the right fit
Vignetting happens when a filter sticks out or sits too close to the edge of the frame, especially on wide angles. To avoid it, use the exact thread size and keep an eye on how the filter and protector sit on the lens. If you notice dark corners in your images, you may be using a filter that’s just a touch too wide for your lens. In that case, switch to a smaller size or use a step-down screw adapter that keeps the front element clear. Your goal is a clean edge-to-edge photo, not a halo around the frame.
Keep filters clean to avoid scratches
Your filters are tiny shields for your lenses, and keeping them clean matters. Dust and fingerprints can act like tiny grits, scratching coatings or stealing contrast. You’ll notice softer edges, less sharp photos, and more post-processing headaches if you skip care. Treat filters like precious protection; a clean filter means your camera can do what it does best—capture clear, true colors. When you handle them with care, you’ll avoid the cost and hassle of replacing scratched glass.
If you’re shooting in busy places, wipe once before you shoot and again after you finish. Use a microfiber cloth and a gentle touch. Avoid rubbing hard or using rough fabrics. A quick, light wipe is usually enough to remove the day’s grime. If you see stubborn smudges, spritz the cloth with a tiny amount of lens cleaner—never spray directly on the filter. Keeping filters clean is a quick habit that saves you time later.
You’ll also want to keep a clean work space. Put filters down on a soft surface, not a dirty table. And be mindful of how you store them between shots. A little care goes a long way toward extending the life of your filters and your lenses.
Safe cleaning steps for protective filters
Start with a dry brush to remove loose dust. Then use a microfiber cloth in small, circular motions. If there’s a stubborn smudge, use a tiny amount of lens cleaner on the cloth, not on the filter itself. Always wipe in a single direction when possible to lift debris rather than grind it in. Finish with a soft, dry pass to remove any cleaner residue. If you ever hear a scratchy sound or feel resistance, stop and recheck your method—gentle pressure is key.
Avoid household cleaners, paper towels, or rough fabrics. They can scratch coatings or leave fibers behind. When you travel, keep a dedicated cleaning kit: a microfiber cloth, a small bottle of lens cleaner, and a soft brush. Your future self will thank you for the extra care.
When to replace an anti-scratch camera filter
Replace a filter if you notice visible scratches that affect image clarity, if coatings start peeling, or if you see persistent spots that won’t lift with cleaning. If you repeatedly clean and still see haze, it’s a sign the coating is wearing out. Don’t try to polish it yourself—bad technique can deepen scratches. A new filter is often cheaper than repairing a lens element.
Store filters to protect coatings and edges
Store your filters in a soft pouch or a dedicated case, with each filter separated to avoid edge chips. Keep them away from hard objects that can nick the edge or coating. Regularly check the edges for chips, and handle with clean hands. A small, dedicated storage routine protects your coatings and keeps your lenses ready for action.
Balance protection and image quality in choices
You want protection for your lens without sacrificing sharpness or color. Think of filters as guards for your glass: they should shield from scratches, dust, and unexpected bumps, but not dull your scenes or soften contrast. Your best bet is to pick filters that balance durability with optical clarity. Look for coatings that resist fingerprints and water, and choose glass with low dispersion to keep colors honest. If you shoot outdoors, a UV or clear protective filter can be a simple shield, while keeping your core image quality intact.
Your decision should consider your typical shooting conditions. If you’re always near sand, dust, or salt spray, protective filters can save you real headaches later. If you shoot landscapes with dramatic skies, you’ll want filters that won’t tint or haze your blues and clouds. When you can, test a few options on your own gear to feel the difference in weight, handling, and how the filter sits in front of your front element. You’ll notice the small, real-world tradeoffs faster than any spec sheet.
In practice, start with a reliable protective option that adds minimal weight and keeps your image clean. Your goal is to prevent scratches and smudges while your lens remains capable of delivering the crisp, bright results you expect. If you’re ever unsure, choose a filter with high-quality coatings and a neutral color balance, so your photos stay true to life.
Pros and cons of stacking camera filters
Stacking filters can be tempting for extra control over exposure and color, but it adds complexity. The upside is flexible tweaks without changing lenses: you can add a polarizer for reflections or an ND for long exposures, then layer on a protective filter. The downside is increased glass-to-glass reflections, potential vignetting, and a higher chance of dust catching between filters. You’ll also notice more potential flare in bright light if the stack isn’t perfectly aligned or if coatings aren’t up to par.
If you’re new to stacking, start with one high-quality filter in front of your lens and see how it behaves on a few shoots. You’ll quickly learn whether the extra filters slow you down, complicate focusing, or degrade image contrast. When you do stack, keep the stack as thin as possible and use filters designed to work together, with compatible coatings and minimal distortion. Remember, every added piece introduces another chance to miss a perfect shot.
On the other hand, stacking can save you money and space if you know you’ll need a polarizer and an ND for certain scenes. If you choose to stack, keep your hands steady, clean both surfaces, and avoid stacking more than two filters unless you have a strong reason. Your photos will thank you with cleaner skies and better exposure.
How protective filters affect contrast and flare
Protective filters are not just shields; they can subtly alter your contrast and the way light behaves. A good one minimizes haze and preserves color by using coatings that reduce reflections. Poor coatings or older filters can introduce a faint warm cast or slight loss of contrast, especially in high-contrast scenes. If flare pops up in backlit shots, a protective filter with strong anti-reflective coatings helps keep the sky clean and the subject sharp.
Your experience will show that the best protective filters stay almost invisible. They protect without stealing light or adding color casts. If you notice dullness or strange color shifts, you may be dealing with a subpar filter or a dirty surface. Keep your front element clean, and choose filters with multi-coating technology to minimize flare and maximize contrast in tough light. Your images will stay clean, and your lens will thank you for the extra shield.
When you pick a protective filter, test it in bright and low-light scenes. Compare what you see with and without the filter, and watch for any differences in edge sharpness or color truth. If you’re chasing pure, punchy contrast, a top-tier protective filter can deliver that protection without the tradeoffs you’ll regret later.
Choose filters for lens protection and optics safety
For lens protection and optics safety, choose filters designed to shield the front element from physical damage. Look for filters with robust tempered glass, tight tolerances, and durable coatings that resist scratches, fingerprints, and water. Ensure the filter ring sits flush with the lens to prevent gaps that can catch dust.
Your choice should prioritize real-world protection over gimmicks. Pick a filter that feels sturdy, easy to clean, and doesn’t noticeably change your color balance. If you’re unsure, test a few in your typical shooting conditions and observe how they perform in rain, snow, or dusty winds. The right protective filter will keep your optics safe without turning your photos into an uphill battle.
Essential Lens Filters for Protecting Your Analog Optics can be a smart part of your gear. Protect wisely, shoot confidently, and keep your vintage glass in pristine condition for years to come.

Junior Souza is a passionate analog photographer and the mind behind estoucurioso.com. With a camera always in hand and a roll of film never far away, Junior has spent years exploring the world through a 35mm lens — learning, experimenting, and falling deeper in love with the slow, intentional process that only analog photography can offer.
What started as pure curiosity quickly became a lifestyle. From testing different film stocks under harsh light to hunting vintage lenses at flea markets, Junior believes that understanding your tools is just as important as developing your eye.
Through estoucurioso.com, he shares everything he has learned along the way — the techniques, the mistakes, the references, and the stories behind the frames. His goal is simple: to build a space where beginners and enthusiasts alike can grow, get inspired, and never stop being curious.
Always learning. Always shooting.