Air drying film negatives vs film drying cabinet
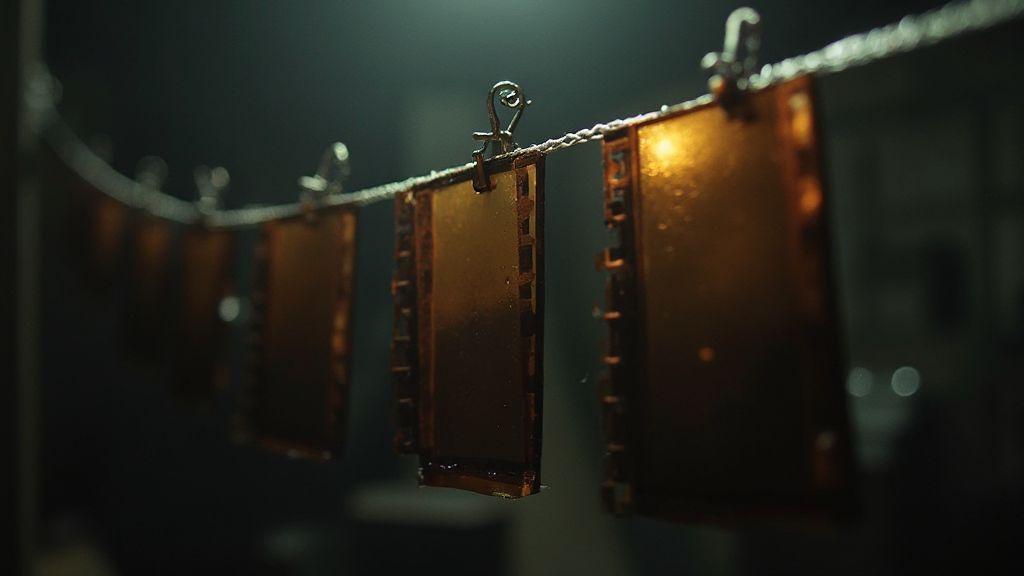
Air drying is simple and inexpensive. Hang your negatives to dry in a clean, dust-free space and let gravity do the work. It saves money and avoids complex setups, making it ideal for a small batch or just a few rolls. Keep the air calm and the surface dust-free to avoid water spots, streaks, or warp. Rushing can ruin a negative for printing.
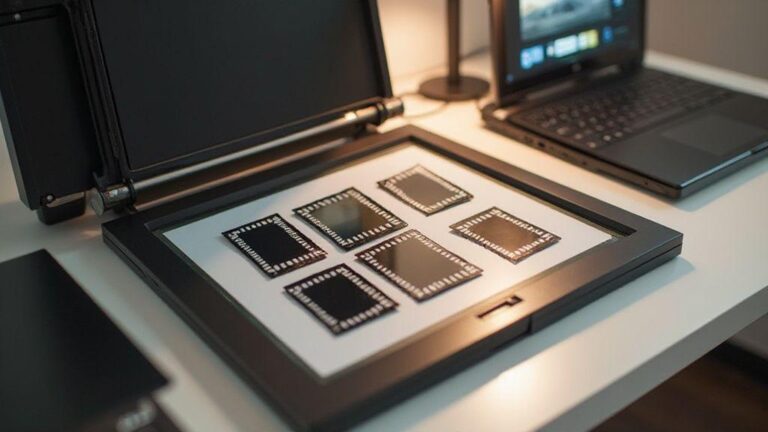
The film drying cabinet offers control. It protects negatives from dust and air currents, speeds up drying, and keeps workflow tidy, especially with large batches. Set the temperature and humidity for consistent results. The downsides are cost and space, but for frequent shooters or tight deadlines, a cabinet can be worth it for repeatable, spot-free results.
In short, air drying saves money and works well for small jobs, while a drying cabinet provides safer, repeatable results for larger workloads. Choose based on processed volume and desired print cleanliness.
How air drying negatives works
Air drying requires only a clean rack or line. After washing, remove excess water and hang the film to dry. Gravity helps water run off and the surface tension helps the film settle flat. Keep the area dust-free and avoid touching the emulsion while wet. Tilt the rack if droplets cling, and use a calm room with steady air rather than a direct blast from a fan. Drying takes several hours depending on temperature and humidity, after which you peel from the reel and store in sleeves.
The main risk is water spots and dust on the wet emulsion. Rushing can cause loss of sharpness and require rewash. Minimize spots by rinsing in clean water and avoiding bubbles. Some shooters blot excess water with a soft microfiber cloth, but be gentle. Evenly dried negatives lie flat and print more easily. Aim for a smooth, uniform finish without drying defects.
When to use a film drying cabinet
A drying cabinet excels with many rolls or when you need consistent results. If you shoot in batches for weddings, events, or school photos, it keeps negatives in the same conditions, minimizes dust exposure, and reduces water spots from uneven airflow. It also speeds handling by reducing fingerprints and scratches during loading and unloading. If space and budget permit, a cabinet is a smart investment for fewer reprints and faster turnaround under deadlines.
If you’re experimenting or processing only a few rolls, air drying offers flexibility and cost savings. A clean, dust-free corner and proper hanging methods can still yield clean results. The cabinet’s advantage is consistency; air drying’s advantage is simplicity and savings. Your workflow and output needs will drive the choice.
Simple step to prevent water spots on negatives
After washing, rinse with clean water, drain slowly, and blot excess droplets with a soft, lint-free cloth before hanging. Dry in a dust-free area with minimal air movement, away from direct fans. Handle by the edges only to avoid emulsion smudges. This small step keeps the emulsion clear and reduces print-ready work later.
Removing fixer residue from negatives
Why removing fixer residue matters
Fixer residue dulls highlights and can stain negatives over time. Skipping this step risks reduced image quality and more restoration work later. Removing fixer residue also prevents stubborn fogging in future scans or prints, helping keep negatives bright and ready for drying.
Rinse and hypo clearing methods
Rinse thoroughly in clean water to remove most fixer, then use a hypo clearing agent to speed up residual thiosulfate removal. A two-step rinse—initial wash followed by a hypo clearing bath—works well with consistent batches. Keep the water clean and change it regularly to avoid recontamination.
Quick rinse routine to remove fixer residue
For a quick rinse: rinse in lukewarm water for about 5 minutes, then run a short hypo clearing or water wash per your fixer’s instructions (2–3 minutes), followed by a final clean rinse. Hang in a clean environment to dry. If a slight tint remains after drying, repeat a gentle rinse or hypo clearing step next time and test with a small strip before processing the whole batch.
Using a film squeegee properly
Grip the squeegee at a shallow angle, barely touching the film to avoid scratches. Use long, even strokes from center to edges with steady pressure. If you see streaks, re-wet and rinse again; a dry blade can drag water and smear emulsion. Keep the blade clean to prevent micro-scratches or water spots. After finishing, wipe the blade to keep passes true.
Practice builds consistency. A slightly curved blade edge can help you stay in contact on curved surfaces. If the blade feels sticky, rinse and re-wet it to avoid dried soap film. Keep your hands steady and wrists relaxed for a single, smooth motion that leaves a nearly dry edge without damage. Test with a small patch first to learn how your squeegee interacts with your film type.
In humid rooms, you may need a damp blade to prevent water from sticking. Adjust angle and pressure based on patch feedback, then proceed with confidence. The goal is an evenly dried surface that prints clearly.
When to use a film squeegee after the final rinse
After the final rinse, pull excess moisture toward the edges in a single pass to prevent water spots. If droplets form in image valleys, re-wet and perform a lighter pass to avoid mineral deposition. A confident, single pass yields a stable, nearly dry surface ready for drying and handling. Timing matters: too soon risks smearing; too late, mineral residues set in.
Communicate your timing if sharing equipment so others can reproduce your results.
Avoiding scratches and preventing static on film negatives
Scratches usually come from a dull or dirty blade. Clean the blade often and check for nicks. Static can cause fine specks; ground yourself and work in a low-dust area. If static builds, wipe with a damp cloth or use approved anti-static spray for film to minimize cling.
Never twist or yank the film while squeegeeing. If there’s resistance, pause, re-wet, and re-align the blade rather than forcing a pass. Calm, deliberate movements prevent edge damage and keep negatives pristine for the next step.
One smooth pass to cut water and static
A single, confident stroke can remove most moisture and light static. If static builds, pause, re-wet, and finish with a downstream motion. A thin water film disappearing in one glide signals you’ve matched surface tension while keeping the surface safe. This approach supports stable handling of negatives after development and keeps your workflow moving.
Drying and Handling Negatives After Development
You’ve finished developing; how you dry and handle your negatives can make the difference between clean frames and fingerprints or dust. This routine saves time later when you scan or print. In Drying and Handling Negatives After Development, consistency matters: use a clean workspace and a dedicated drying rack or hangers to prevent film contact and scratches. A repeatable routine reduces dust, fingerprints, and scratches, and it helps you view or print with confidence.
From washing to complete drying, deliberate steps guard against small mistakes that become headaches later. Your future self will thank you for sticking to a steady process—this is the core of Drying and Handling Negatives After Development.
Wear gloves for handling negatives to stop fingerprints
Fingerprints are your worst enemy. Wear clean, lint-free gloves and keep a dedicated pair for all handling tasks. This prevents oils from skin from sticking to the surface and creating spots or smudges that ruin scans or prints. Work over a clean, light-colored surface to spot dust or smudges easily. If you see a fingerprint, pause and wipe it carefully with a microfiber cloth. Change gloves if damp or soiled to keep negatives clean and workflow smooth.
How to hold strips and use clips safely
Hold strips by the edges to avoid fingerprints on the image area. Clip at the corners to prevent emulsion pressure; if clips leave marks, switch to gentler ones or place tissue under the clip to distribute pressure. When drying multiple strips, fan them slightly to ensure even air contact. A calm, organized setup makes this step almost meditative, delivering consistent results.
Small habits to protect your negatives
Small habits compound into big wins. Clean your work surface, use a dedicated drying tray, and label without touching the image area. Store dry negatives in sleeves or a protective box to prevent scratches and dust while awaiting the next step, like scanning or printing. These simple actions yield smoother, safer results over time.
Best storage for film negatives
Protect your negatives with archival sleeves and low-humidity storage to slow decay and keep dust away. Choose acid-free, lignin-free materials that won’t leach into the film. Store sleeves in a sturdy, labeled box on a shelf. For reels or strips, use archival sleeves inside a React-free container to avoid chemical interactions. This is your first line of defense: keep negatives clean, flat, and protected from grime.
Flat storage helps prevent curl and fungus. Use acid-free folders or envelopes laid flat, not rolled. A small, breathable rack is okay if kept dry. Avoid crowding. Handle collection gently—curling is hard to reverse, but flat storage minimizes risk. If you see fungus, isolate and treat carefully to prevent spread.
Store where it’s cool and dry for long life
Maintain a cool, dry place: around 60–70°F (15–21°C) and 30–40% humidity. A climate-controlled closet works well. Avoid direct sunlight and drastic temperature shifts. In humid areas, consider a dehumidifier or silica gel packs inside the storage box. Consistency beats volume; a small, well-kept space outperforms a larger, poorly managed one. This fits into Drying and Handling Negatives After Development as part of a calm, dry environment.
Preventing and fixing water spots and streaks
Prevention starts with clean, filtered rinsing water and a dust-free work area. Rinse like washing a car: steady, even flow to avoid spots. After washing, pat dry with a soft cloth rather than rubbing to avoid embedding minerals. If spots appear, rewash and remove mineral deposits gently. For stubborn spots, use a tiny amount of mild, film-safe cleaner on a cloth after testing on a scrap. Keep strips supported and flat to prevent moisture traps. Finish with a final rinse using distilled water and a quick, even dry. Your goal is a pristine surface ready for filing or scanning.
What causes water spots on negatives and how to avoid them
Spots form from minerals in rinse water drying on the film. Use distilled or deionized water for the final rinse if possible; otherwise, rinse with clean tap water first, then distilled water. Spread strips on a clean, slanted drying rack to avoid pooling. Oils from hands or a dirty environment can attract spots, so keep the setup clean. Rewash if spots appear fast; a light wipe with a microfiber cloth may help, but avoid rubbing the emulsion. Finish with distilled water and a quick, even dry.
Rewashing and gentle spot removal techniques
For rewashes, rinse negatives in distilled water using a gentle, steady stream. If you see a spot, let the water wash it away rather than rubbing it dry. To lift a spot, dampen a microfiber cloth slightly and lift in a small circle with light contact. Repeat as needed, stopping when the film looks clean. Dry thoroughly to prevent new spots from forming.
Check each strip before filing to stop stains
Inspect each strip at a bright angle for remaining spots or streaks. Address any stain with a quick rinse or light wipe. Don’t skip this final check—remnants can become bigger issues later. Ensure the drying area is dust-free and your rack isn’t crowded to avoid moisture traps. A routine final check keeps negatives clean and ready for filing.

Junior Souza is a passionate analog photographer and the mind behind estoucurioso.com. With a camera always in hand and a roll of film never far away, Junior has spent years exploring the world through a 35mm lens — learning, experimenting, and falling deeper in love with the slow, intentional process that only analog photography can offer.
What started as pure curiosity quickly became a lifestyle. From testing different film stocks under harsh light to hunting vintage lenses at flea markets, Junior believes that understanding your tools is just as important as developing your eye.
Through estoucurioso.com, he shares everything he has learned along the way — the techniques, the mistakes, the references, and the stories behind the frames. His goal is simple: to build a space where beginners and enthusiasts alike can grow, get inspired, and never stop being curious.
Always learning. Always shooting.