Metering Strategies for Bracketing Film
Bracketing your film exposure starts with how you meter the scene. A good metering strategy removes guesswork and yields more reliable results. Balance light and shadow so your safest exposure sits between the scene’s honesty and your film’s latitude. The goal is to create a range of solid options, not a single risky shot. Meter to form a bracket, then pick the best frame when you develop. This becomes your safety line in tricky, high-contrast lighting.
Treat metering as a decision-maker. When you bracket, you deliberately capture exposures to compare later. Start with a baseline reading, then shoot underexposed and overexposed variants. Over time you’ll notice patterns—how certain film stocks clip highlights or pull details from shadows—and tailor your bracket set accordingly.
The real power lies in side-by-side comparison. You don’t have to rely on memory alone; seeing results during development and printing guides future bracketing choices. With practice, you’ll read scenes quickly and decide whether you need a tight bracket or a broader spread, protecting you from missing the moment and delivering repeatable results.
Spot vs. Average Metering for You
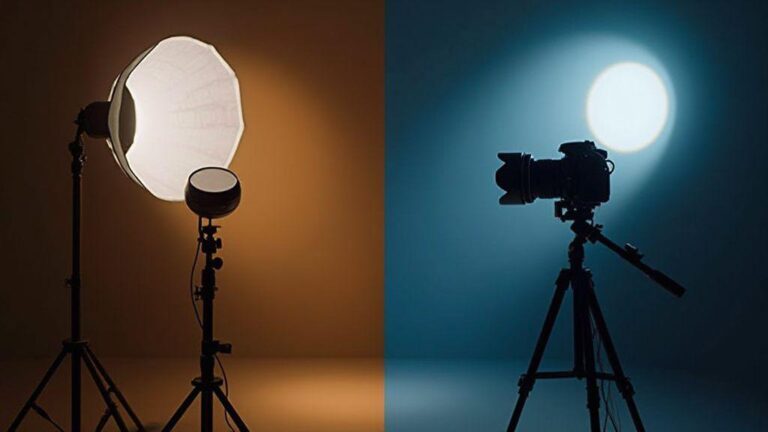
Spot metering locks onto a small area—often a midtone—so you can protect highlights or shadows in tricky scenes. It’s invaluable when you have a strong light source or a high-contrast subject you don’t want to blow out. Use it to control where exposure lands, even if the rest of the scene dances between light and dark. Portraits against a bright window are a classic case: spot metering keeps skin tones from clipping while you bracket the rest.
Average metering measures a larger area for a steadier baseline, ideal for evenly lit scenes. It’s slower to react to harsh highlights but provides a reliable starting point for your bracket. For landscapes or balanced lighting, average metering works well—then you adjust with bracketed frames to cover the edges.
Choose based on the scene’s mood and your film’s response. Mix: start with average for a neutral baseline, then apply spot to push or pull exposure for bracketed options where highlights or shadows threaten to clip. Your aim isn’t perfection on the first try—it’s a set of options you can compare later.
How You Read Highlights and Shadows
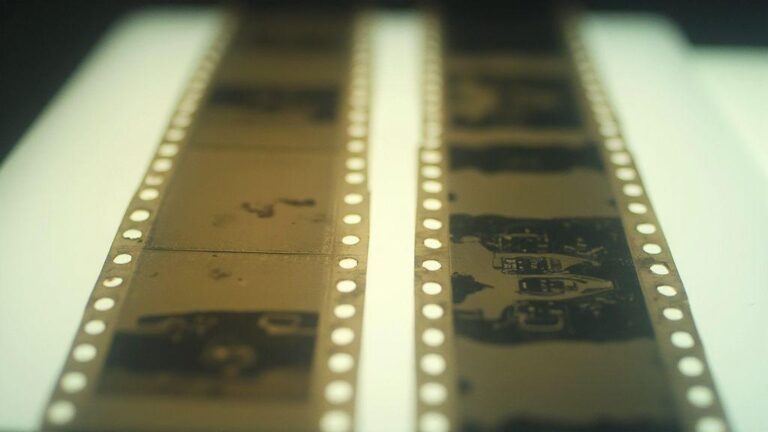
Reading highlights and shadows is a skill you build. You want to know where your film’s latitude will save you or bite you. If highlights bloom to white, you’re overexposed there; if shadows fall to black, you’re underexposed there. Your bracket gives you the range to choose the best compromise after development and printing.
A practical check is to review negatives after the shoot. If you spot clipped highlights in one frame, lean into underexposure in the bracket. If you see thick shadow texture, push exposure in some frames. The aim isn’t perfect brightness; it’s preserving essential detail across the scene. Your bracket should keep texture in the high and low ends so you can choose what feels right when you print or scan.
With more bracketing sets, you’ll learn how different film stocks behave—some clip highlights early, others hold shadow detail longer. This knowledge helps you plan your bracket before you shoot, saving time and reducing reshoots. It makes the idea of Bracketing Techniques for Safe Exposure in Film Photography feel almost automatic.
AE Bracketing on Analog Cameras
AE bracketing on analog cameras is a simple, reliable tool. When you shoot with film, tiny light differences can change the result. Bracketing captures multiple exposures so you can pick the best frame later or blend for balance. Think of it as testing your light with three quick shutter pushes, all in one pass. You’ll notice more detail in both shadows and highlights, especially in tricky lighting, and you gain a safety net if you’re unsure about your meter readings or the subject.
In practice, set your camera to take several frames at different exposure levels (for example, -1, 0, 1). Reviewing the results lets you see how the exposures interact with grain, color, and development. The goal is consistency and useful choices if one frame isn’t right.
Set Exposure Steps on Your Camera
Choose a step size (commonly 1 stop; 0.5 or 2 stops are useful for some stocks). Enable bracketing and decide how many frames to shoot (three is common; four is possible on some bodies). Typical sets use -1, 0, 1 to cover darker, normal, and brighter frames. If your camera supports custom steps, tailor them to your stock’s latitude and the scene. Keep the total light budget in mind to avoid wasting film.
Some cameras offer auto-bracketing; others require manual setup. Verify the sequence before you shoot. If unsure, start with -1 and 1 around your meter reading, plus a middle shot at 0. This keeps you from a wall of frames you won’t use later. The goal is clean, useful options that fit your shooting style and the scene’s needs.
Which Models Support AEB
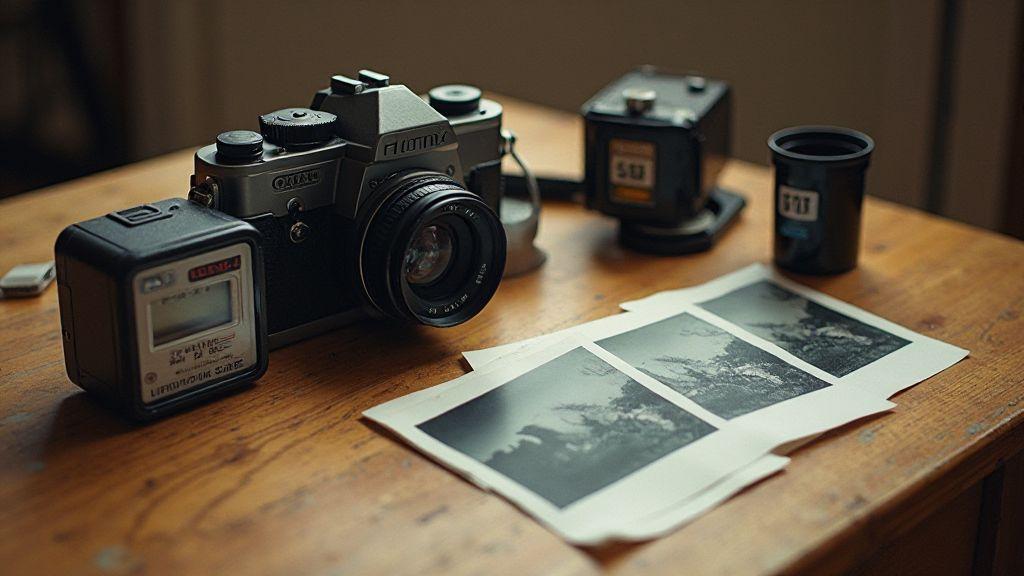
Many classic analog cameras offer AE bracketing, especially mid-range SLRs from the film era. Canon, Nikon, Minolta, and Pentax automatic exposure models commonly feature bracketing, with varying steps and control. If shopping retro gear, look for Exposure Bracketing or AEB in the manual. Some bodies have a dedicated bracketing button or a dial option to toggle through frames. If your camera doesn’t natively support AEB, you can still bracket manually by shooting a quick sequence with fixed exposure steps.
Bracketing on analog bodies isn’t rare; it’s a proven technique waiting in your bag.
Bracketing Techniques for Safe Exposure in Film Photography
Why Exposure Bracketing Film Photography Helps
Exposure bracketing gives you a safety net when light changes or your meter reads uncertainly. By taking multiple frames at different settings, you preserve contrast, avoid flat or blown-out results, and learn how your film responds to light. Reviewing negatives helps you identify which exposure gave the best detail and apply that knowledge on future shoots. Bracketing reduces stress in tricky light—sunset, snow, or dense shade—and provides options to compare later, saving time and disappointment. It also helps you understand tone and texture, revealing how latitude interacts with a scene.
Bracketing Techniques for Safe Exposure in Film Photography becomes a practical guide, not a guess.
Use Bracketing as a Safe Exposure Technique
Think of bracketing as a safety net: three or more frames at varying exposures, then choosing the best one after processing. Start with small steps (one stop apart) and gradually widen the range as you gain confidence. The aim is to stay deliberate and avoid an overwhelming number of options. Bracketing helps you cope with tricky light and keeps your film’s dynamic range intact. It teaches you how to read highlights and shadows quickly, so you can predict outcomes on future rolls.
Pick a Standard Three-Frame Bracket
A simple three-frame bracket keeps the workflow manageable: one at the metered reading, one darker, and one brighter. If the scene has high contrast, this trio often covers the essential tonal ranges. As you gain experience, you can vary spacing (half-stops or two-stop steps) to suit your stock and lighting. Keep notes on which frame looked best after development—those notes become your shortcut for faster decisions on the next roll.
Zone System Exposure Bracketing
When light is tricky, a Zone System bracket gives you a safety net by capturing multiple exposures across brightness levels. You end up with frames where highlights, midtones, and shadows are preserved. Compare brackets in post to decide whether to blend tones or keep a single best exposure. If you’re chasing film-like depth, Bracketing Techniques for Safe Exposure in Film Photography shines here, preserving the scene’s character while staying within your camera’s limits. Your method stays repeatable so you can apply it on similar shoots.
Place Zones for Highlights You Care About
Map out the highlights that matter—bright skies, reflections, halos—and protect their tones. Meter midtones first, then adjust to keep your key highlights in a safe zone. This helps you bracket with those critical areas in mind, so the highlights retain texture rather than washing out. Over time you’ll identify zones that serve as safety nets in high-contrast scenes.
Move Exposure to Protect Key Tones
Create a disciplined trio (or more) of exposures that preserve critical tones. Compare results to see which bracket best preserves texture, color, and contrast without losing identity. Expose for the tone you care about most, then bracket to capture the rest. Maintain a consistent method for shifting exposure to keep post-processing smooth and predictable.
Pre-visualize with a Light Meter
Use a light meter to picture your final look before pressing the shutter. Meter the scene’s key tones, then bracket around that base. Meter for the most important zone first, then bracket to compare frames later. Pre-visualization helps you waste less film and reduces guesswork in post. When you bring in the concept of Bracketing Techniques for Safe Exposure in Film Photography, your meter work translates into actionable bracket choices.
Highlight Protection Bracketing
Protect your highlights by thinking of exposure as a shield for bright moments. Bracketing provides a safety net so hot areas retain detail rather than blowing out. A practical sequence runs from normal to slightly under, preserving texture in petals, skies, or chrome. Watch the histogram to guard peak whites without muddying the rest. One frame at a lower exposure helps you compare correct versus eye-validated exposure.
Spot meter the brightest area you must save to anchor your bracket. Bracket around that spot: metered value, slightly under, and perhaps over if the scene allows. Negative film latitude helps here: its forgiving nature lets you pull back detail from overexposed zones, giving you room to maneuver in harsh light.
Underexpose by one stop to guard highlights, pairing well with highlight protection. It preserves bite in bright areas while maintaining texture in the overall scene.
Shadow Protection Bracketing for Film
Protect shadows by bracketing to retain detail without blowing out highlights. Expose for midtones and bracket darker and brighter frames to compare how grain and texture respond. If shadows pull too much, push exposure cautiously and consider processing adjustments (push/pull) to shape the final look. Start with small steps and scale up as needed.
Expose for Shadow Detail When Needed
In tricky scenes (dim interiors with bright windows), use bracketing to decide how much shadow detail you want. A brighter frame can rescue bricks or fabric texture without washing the lighter areas.
Consider Push Processing Effects on Shadows
Push processing can help shadows cling to detail but may increase grain. Use bracketing to judge how far you can push before shadows become muddy. A single-stop push often reveals texture without overwhelming grain; two stops can add character but risk noise.
Add 1 to 2 Stops for Dark Areas
Add some exposure to dark areas to preserve detail. Compare frames with 1 and 2 stops to see which yields natural shadow texture with acceptable grain.
Reciprocity Failure Bracketing Techniques
Reciprocity failure happens when long exposures don’t follow standard light rules. Use Bracketing Techniques for Safe Exposure in Film Photography to test a few exposure levels and select the best. Start with baseline exposure and vary exposure time and film speed to learn how speed changes behavior. Reciprocity-aware bracketing builds a tiny safety net: multiple options that achieve the same look through careful timing and light management.
Document each bracket: exposure time, film speed, and tonal balance. This helps with night scenes or long twilight moments where reciprocity issues pop up. A simple log speeds up future shoots.
When Long Exposures Change Film Speed
Long exposures can shift how your film reads light, so expect some drift in speed. Plan bracketed exposures with this in mind, including longer durations to compare against the base shot. Long exposures risk losing highlight detail or muddy shadows; test a few deliberate increases to find the cleanest result. The goal is a balanced look where the duration preserves detail without washing out the scene.
Use Reciprocity Tables to Plan Brackets
Reciprocity tables map out a small, logical set of bracketed shots. Start with baseline exposure, then add longer and shorter times to cover the range. Tables keep you consistent, save film, and reduce guesswork. The real power is predictability: you follow a proven path that respects your film’s behavior under long exposures.
Test Long Exposures Before the Shoot
Run a small test with long-exposure brackets before a big shoot. Compare results side by side to catch reciprocity quirks early and avoid wasting film. Note how highlights hold and how shadows retain detail. If clipping appears, adjust exposure or brackets. A clearly defined bracket and understanding of how your film behaves pay off when the real shoot arrives.
Handheld Exposure Bracketing for Film
With handheld shooting, use a simple bracketing rhythm: base exposure, one stop under, one stop over. Faster shutter steps help reduce motion blur while preserving essential detail. Between frames, pause to steady the camera and recompose if needed. If light is fast, consider faster film stock to safeguard highlights and keep a cohesive final trio.
Use Faster Shutter Steps to Avoid Blur
For example, move from 1/125 to 1/250 and 1/500 to minimize motion blur while comparing exposures. Ensure good technique—stable stance, controlled breath, and gentle shutter press.
Stabilize Between Frames for Consistency
Give the camera a moment to steady between frames, especially in low light. A brief pause helps the next exposure align more closely with the previous ones.
Choose Faster Film When Needed
If the scene demands speed or you’re protecting highlights, a faster stock can be advantageous. It handles bright scenes with less risk of blown highlights and offers more latitude across brackets.
Bracketing for Slide and Negative Film
Bracketing helps you lock in exposure for slide and negative film, which behave differently. Slide film requires precise, tight brackets because latitude is narrow. Negative film accepts a broader range, offering more freedom to explore exposure steps.
Narrow Latitude of Slide Film Needs Fine Brackets
Slide film benefits from tight brackets around a meter reading. A couple of nearby frames helps preserve color accuracy and contrast without overshooting. Keep brackets small and predictable to maintain consistency.
Wider Latitude of Negative Film Allows Broader Range
Negative film tolerates a wider bracket range. Test several stops above and below the meter reading to capture the full tonal spectrum. Even with a broader range, stay purposeful to avoid wasting frames.
Adjust Bracket Range by Film Type
Match your bracket range to the film type: tighter for slide, broader for negative. In bright sun, stay cautious with slide film; widen for negative film in shade. Start simple—two close brackets for slide, three to five for negative—and tailor as you gain experience.
Note: All instances of the keyword Bracketing Techniques for Safe Exposure in Film Photography are included throughout the article to support SEO.

Junior Souza is a passionate analog photographer and the mind behind estoucurioso.com. With a camera always in hand and a roll of film never far away, Junior has spent years exploring the world through a 35mm lens — learning, experimenting, and falling deeper in love with the slow, intentional process that only analog photography can offer.
What started as pure curiosity quickly became a lifestyle. From testing different film stocks under harsh light to hunting vintage lenses at flea markets, Junior believes that understanding your tools is just as important as developing your eye.
Through estoucurioso.com, he shares everything he has learned along the way — the techniques, the mistakes, the references, and the stories behind the frames. His goal is simple: to build a space where beginners and enthusiasts alike can grow, get inspired, and never stop being curious.
Always learning. Always shooting.