Beginner Tips for Storing Negatives and Prints Safely at HomeAnúncio
Protecting memories begins with careful handling and smart storage. These beginner tips cover how to handle negatives, choose acid-free materials, control temperature and humidity, organize for easy access, and digitize for backup. By following these steps, you’ll keep details sharp and colors true for years to come.
Handle Your Negatives Carefully
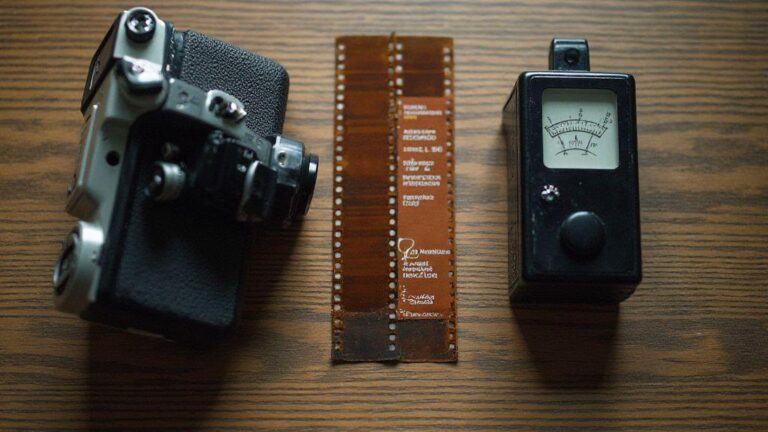
You’re safeguarding memories that matter. When handling film negatives, move slowly, touch only the edges, and keep things clean to avoid fingerprints, scratches, and dust. Treat each negative as a delicate treasure to save time and frustration later.
- Start with clean, dry hands. Hold negatives by the edges to prevent oils from smearing the emulsion. If you need to support a strip, use a clean sleeve or negatives-safe tongs. Work in a well-lit area to spot dust or flaws. If you see a fingerprint, do not rub—gently lift it with a soft brush or microfiber cloth.
- When finished, lay each strip down on a clean surface or back into its sleeve. Let them cool before transporting; use a rigid, flat container if you must move them. Small mistakes now can lead to bigger losses later, so take your time.
Proper handling of your film negatives
Treat each frame with care. Wear clean, lint-free gloves for fragile or valuable stock; if not available, wash and dry your hands thoroughly before touching film. Grasp the edges and corners rather than pinching the center. Keeping strips flat helps prevent color shifts and scratches.
- Re-roll or re-store slowly, minimizing surface contact. Clean with a soft, anti-static brush to remove loose dust—avoid compressed air, which can push particles into the emulsion.
- Work in a clean, dry space and avoid bending, creasing, or exposing film to direct sunlight while handling.
Storing in a clean, dry place matters. Keep negatives away from heat, humidity, and magnetic fields. If unsure, pause and reassess—the quick check is cheaper than repairing damage later.
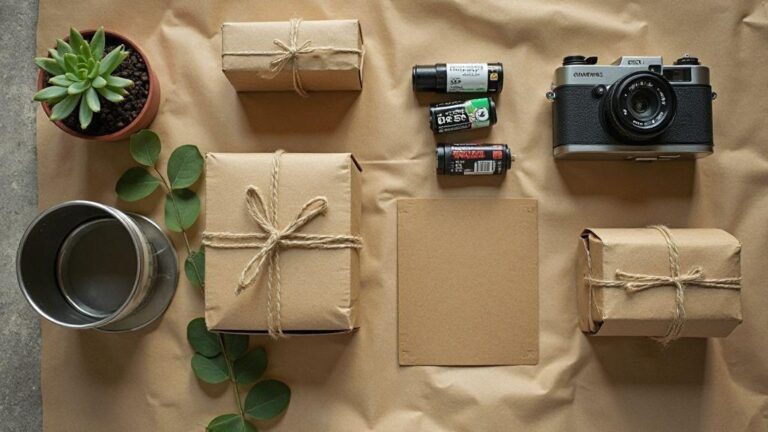
Storing Your Photo Negatives Short-Term
Store for the near future—whether digitizing soon or shelving for a project. Use snug, acid-free archival sleeves. Slide each strip in edge first to protect the emulsion. Label sleeves with date and a short note about the scene for quick retrieval.
- Keep short-term storage cool, dry, and stable. Avoid basements and attics with fluctuating humidity. A small labeled cabinet with desiccant packs helps keep moisture down. Store negatives upright in a file with dividers to prevent bending.
Clean Your Workspace Before You Start
Clear the workspace of clutter and use a clean, lint-free surface. A microfiber cloth, a small brush, and proper lighting are essential. Wipe the table and containers to help you spot dust and fingerprints immediately.
- Keep the area free of food and drinks to avoid spills. If you share space, designate a clean film-only zone to avoid cross-contamination.
Choose Acid-Free Materials
For long-term protection, choose acid-free materials from the start. Acid can degrade paper and film, causing yellowing and brittleness. Look for sleeves, mats, and storage boxes labeled acid-free or pH neutral, ideally with a neutral pH around 7.
- If you already have non-acid-free items, group by material type and replace in batches. Consider sleeves made from stable polyester or polyethylene for moisture resistance and longevity.
Using acid-free materials protects more than prints—it safeguards memories attached to each image, reducing color shifts, fading, and brittleness over time.
Archival Storage for Your Prints with Acid-Free Sleeves
Acid-free sleeves are a simple way to guard prints. Slide each print into a labeled sleeve to shield against fingerprints, dust, and moisture while keeping the image surface pristine. For heavy handling, consider larger sleeves with a top sheet to minimize rubbing. Label sleeves to know contents without touching prints.
- Organize by year or project. If storing multiple prints together, interleave with acid-free sheets to give each image breathing room. Store sleeves in a cool, dry place away from direct sunlight.
Archival sleeves reduce transfer between sleeves and prints, lowering color transfer and surface scratches. This small step supports durability and confidence in handling your work.
Avoid PVC and Lignin Paper in Your Supplies
PVC can release plasticizers that migrate into prints, causing residues and color shifts. Lignin oxidizes to acids that stain and degrade images. Avoid PVC or lignin in sleeves, folders, or backing papers. Look for acid-free and lignin-free on packaging and verify with suppliers.
Choose sleeves and backing boards from archive-grade materials—polyester, polyethylene, or alpha-cellulose options with proven safety. If unsure, request a test sample to check for off-gassing or surface changes. By avoiding PVC and lignin, you preserve color fidelity and longevity.
Label Your Sleeves with a Soft Pencil
Label sleeves with a 2B or 4B pencil to note title, date, and location. Graphite leaves minimal risk of transferring to the print surface and can be erased if needed. Maintain neat, consistent handwriting and a simple labeling format if sharing storage space.
Control Temperature and Humidity
Stability matters. A steady environment helps prevent warping, fading, and mildew. Choose a room that remains cool and calm most of the year, with a target of around 65–70°F (18–21°C) and 30–40% relative humidity. If you live in a climate with swings, a simple storage cabinet with a humidity monitor works well.
Set the Right Temperature and Humidity for Your Photos
Avoid hot closets, sunny shelves, or direct heat. A fan can help with air movement, but don’t blow it directly at items. Small, gradual adjustments beat large, sudden changes.
- For most home collectors, 65–70°F (18–21°C) and 30–40% humidity are solid targets. Use a thermometer and hygrometer to log readings weekly. Some materials tolerate slightly more moisture; adjust thoughtfully and treat each item with care.
Use Humidity Monitors and Silica Packs for Your Storage
Place a monitor in the storage area and check weekly. If readings drift, adjust the space rather than the items. Silica gel packs absorb excess moisture; replace them as they harden.
- Pair monitors with packs for a simple, effective system. It’s not flashy, but it keeps memories stable.
Keep Your Boxes Away from Heaters and Windows
Heat and direct sunlight are the worst enemies. Store boxes in a cool, shaded spot—closets or interior shelves work well. If near a window, use curtains and keep containers away from heat sources.
Protect Your Prints from Light
Light fades colors over time. Aim for practical, real-life protection rather than lab-grade conditions. Limit exposure, manage display spaces, and rotate pieces to avoid aging all at once.
- Choose displays with UV-filtered glass and appropriate lighting. Rotate prints every few weeks or months to enjoy different images while preserving colors.
- When not on display, store prints in a cool, dry place with acid-free sleeves and archival boxes. Label items and plan rotation to keep your wall and collection safe.
Use UV-Filtered Glass and Limit Display Time
UV-filtered glass slows fading, and infrared-blocking options add extra protection. Limit display time to reduce cumulative light exposure; rotate periodically to keep colors vibrant.
Rotate Your Displayed Prints Each Month
Rotating displays helps maintain color integrity and offers fresh viewing experiences. Check for fading or reflections and adjust as needed. Use reminders to keep rotations consistent.
Organize and Store for Easy Access
Create a simple, daily-use system to keep negatives and prints safe and easy to find. Organize by date, event, or project, and keep everything labeled and sturdy. Regularly check shelves for dust, humidity, and light exposure to protect memories over time.
Organizing Your Film Negatives by Date or Roll
Label sleeves with year and month, sorted by roll number if needed. Clear, readable labels speed retrieval. When handling different film stocks, add a small tag for speed or color balance to grab the right stock quickly. Test a small batch first to refine labels and order for a smooth, intuitive flow.
Use Best Archival Boxes for Your Photos and Prints
Archival boxes protect from light, humidity, and dust. Choose acid-free cardboard or archival-grade plastic with neutral pH and padded interiors. Label outside and inside lids, and place photos and negatives in separate sleeves with a simple index card noting date range and project. Consider separate boxes for prints and negatives to minimize mix-ups.
Keep a Digital Index and Digitize for Backup
A digital index speeds retrieval and sharing. Use a simple spreadsheet or database with date, roll/file number, subject, location, and condition notes. Add scans or photos for quick reference and back up regularly, ideally with cloud storage in addition to local copies.
Digitizing Your Negatives for Backup and Access
Digitizing creates master copies you can share without touching originals. Use a dedicated film scanner or a camera with proper lighting for best results. Store RAW or TIFF alongside final JPEGs and maintain consistent file naming.
Follow Home Photo Preservation Tips for Digital Files
Keep a consistent folder structure: year, event, subject, with metadata. Regularly check drives for errors and update software. A 3-2-1 backup rule—three copies, two storage types, one off-site—helps prevent loss.
Store One Backup Off-Site for Extra Safety
Off-site backups protect against local disasters. Use reputable providers, encrypt sensitive files, and maintain clear data retention policies. An off-site copy ensures memories survive even if home storage is compromised.
This collection of beginner-friendly tips helps you store negatives and prints safely at home. By handling with care, choosing acid-free materials, maintaining stable temperature and humidity, organizing efficiently, and digitizing for backup, you’ll preserve your photos for generations to come.

Junior Souza is a passionate analog photographer and the mind behind estoucurioso.com. With a camera always in hand and a roll of film never far away, Junior has spent years exploring the world through a 35mm lens — learning, experimenting, and falling deeper in love with the slow, intentional process that only analog photography can offer.
What started as pure curiosity quickly became a lifestyle. From testing different film stocks under harsh light to hunting vintage lenses at flea markets, Junior believes that understanding your tools is just as important as developing your eye.
Through estoucurioso.com, he shares everything he has learned along the way — the techniques, the mistakes, the references, and the stories behind the frames. His goal is simple: to build a space where beginners and enthusiasts alike can grow, get inspired, and never stop being curious.
Always learning. Always shooting.