Why use Alternative Processes like Cyanotype in Analog Post
You might feel your work deserves more than a plain print. Alternative Processes like Cyanotype in Analog Post offer a new voice that blends science and art, letting you explore texture, tone, and mood beyond standard inks. Cyanotype delivers a timeless look you can make at home, with a blue image growing visible in sunlight and a touch of light-sharing magic.
Your projects gain personality when exposed to light. With cyanotype, every print carries a hint of the moment you exposed it, making your work feel honest and tactile. You can tailor the final piece by adjusting exposure for contrast or swapping papers for different textures. It’s not about replacing your usual prints; it’s about expanding your toolkit with added character.
Choosing this path means embracing a hands-on vibe over a slick digital finish. The results can be pleasantly unpredictable, keeping you curious. In Analog Post, you’re not just reproducing an image—you’re shaping it with sun, chemistry, and intention. That blend attracts viewers who crave a story behind the print, not just a pretty photo.
How sunprint cyanotype suits your style
Your style thrives on simplicity and bold shapes. Sunprint cyanotype is perfect for that, with its cobalt blue backdrop setting a calm, graphic stage. You control the image by placing objects or negatives and letting the sun do the rest, yielding a clean, high-contrast look that reads well in groups or on a wall.
If you love a DIY spirit, cyanotype fits like a favorite worn-in shirt. You mix the chemicals, coat the paper, and watch the image emerge under light. The step-by-step process is repeatable and adjustable, so each print teaches you something new. Layer plant silhouettes with everyday objects to tell a tiny blue story.
Cyanotype is forgiving. Mistakes teach you about exposure and timing rather than talent, keeping you engaged. The method enhances, rather than hides, your creative voice.
Benefits of handmade photographic prints for you
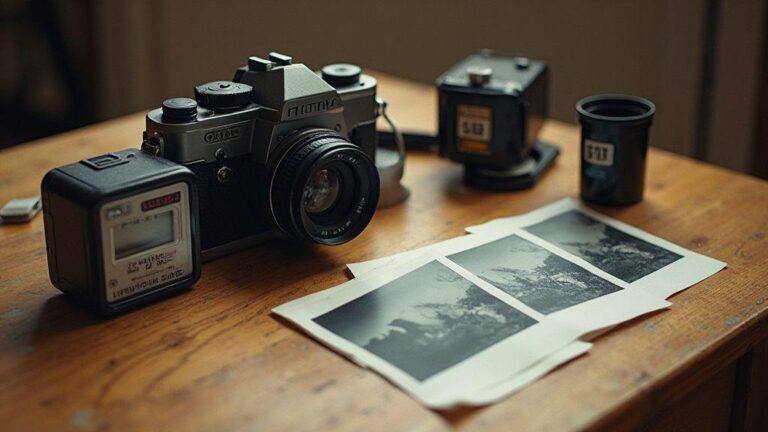
Holding a handmade print conveys the effort and care behind it—the texture, the slight irregularities, the tactile weight. Handmade prints create a closer connection with your audience, who can sense your process and patience.
You gain control over the final piece: how dark the blue is, how sharp the lines, and how textures interact with light. You can sign or date each print, making them feel singular and telling the story behind the image.
The slow, deliberate pace of handmaking prints encourages thoughtful composition, subject, and mood. The end result becomes a tangible artifact of your thinking and skill.
Low-cost, hands-on printmaking
You don’t need a big studio. Set up a simple cyanotype station at a kitchen table or balcony. Gather paper, a shallow washing tray, fixer, and your chosen objects or negatives. The initial setup is modest, and solid results come with practice.
The hands-on part accelerates learning: mixing chemicals, coating paper, and timing exposure teach you about light, chemistry, and composition. Each print is a small victory you can hold and show. If space is limited, a bright corner, a tray, and a few sheets can form a mini studio. Consistency matters: coat the paper the same way, expose for the same duration, and keep notes. Your notes become your guidebook for future projects.
Cyanotype chemistry basics
You’re stepping into the chemistry layer. It’s a simple dance of two chemicals on paper that react when light hits them. The setup is beginner-friendly, with results that feel like real chemistry you can repeat at home.
Two key players: ferric ammonium citrate (a reddish-brown powder dissolved to let the paper soak up its story) and potassium ferricyanide (a blue-tinged compound that loves sunlight). When mixed into a solution, they become a light-sensitive coating. Coat the paper, dry it in a dark place, and get ready for exposure.
These salts work together to capture shadows of objects placed on the coated paper, turning white areas into rich blue tones and leaving the desired shapes clearly defined.
Ferric salts and potassium ferricyanide explained
Ferric salts are the first actor: they store energy from light and pass it to potassium ferricyanide when needed, creating the white-to-blue contrast you’ll see. You’re preloading the paper with light-memory, so exposure yields cyan-blue silhouettes.
Potassium ferricyanide is the second star: it reacts with the ferric salts under sun or strong UV light. When exposed, the coated areas turn cyan-blue. This isn’t traditional painting; it’s a chemical system that changes color with light. More light deepens the blue.
Balance matters. Too little ferric salts yields faint blue; too much potassium ferricyanide can waste exposure time. Small test patches help you dial in consistent results.
How UV light creates the cyanotype process
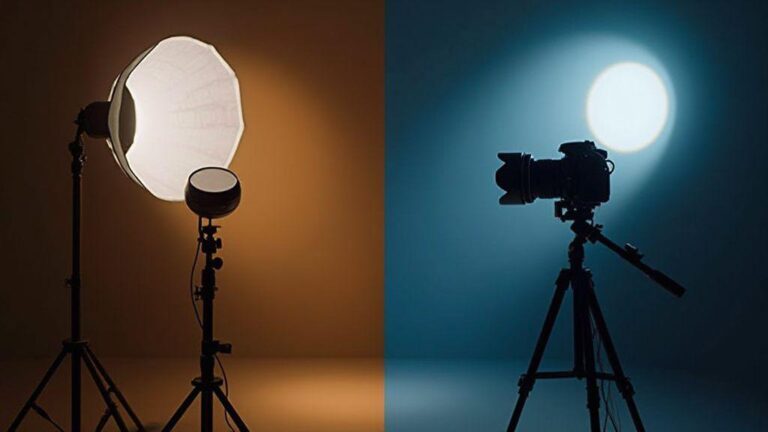
UV light is the spark. Place an object on the coated paper and expose it to UV or sunlight. Light reduces the ferric salts, and potassium ferricyanide helps lock in the blue, producing a negative image in blue and white areas where light didn’t reach.
Control the outcome with exposure time. Short exposures yield delicate lines; longer exposures deepen the blue and boost contrast. Indoors, use a UV lamp for consistent times; outdoors, a sunny day is quick but clouds change exposure. Judge by eye when whites stay white and blues deepen.
After exposure, rinse in running water to fix the image. A careful wash preserves crisp edges and prevents dulling of highlights.
Safe handling and ventilation
Handling ferric salts and potassium ferricyanide requires respect for chemistry. Work in a well-ventilated area to reduce fumes. Gloves and protective eyewear are smart safety nets, and keep your workspace tidy to avoid mix-ups.
Store powders in labeled, sealed containers. If you spill something, wipe it up and rinse. Your safety routine becomes second nature and helps keep prints clean.
A simple cyanotype tutorial you can follow
Cyanotype is beginner-friendly and rewarding. You’ll get deep blues and crisp whites while learning exposure, wash, and finish in a few steps. Build a small darkroom habit at a kitchen table or sunny window.
Key ideas: chemistry and contact printing. Coat paper with a prepared solution, let it dry flat, place objects or a negative on the coated surface, and expose. The color shift happens quickly, and you’ll adjust timing and contact to taste. Expect a few trial runs, which are part of the charm.
Different papers react differently—some hold more detail, others yield punchier blues. Practice to discover your preferences. With time, setup becomes quicker and the rhythm of coating, exposing, washing, and finishing becomes intuitive.
How you coat and dry paper for cyanotype
Coating starts the magic. Mix and brush the solution onto clean, dry paper in an even layer using a wide, soft brush. Work in low light to avoid premature exposure. The coating should be thin but even, like a fine glaze.
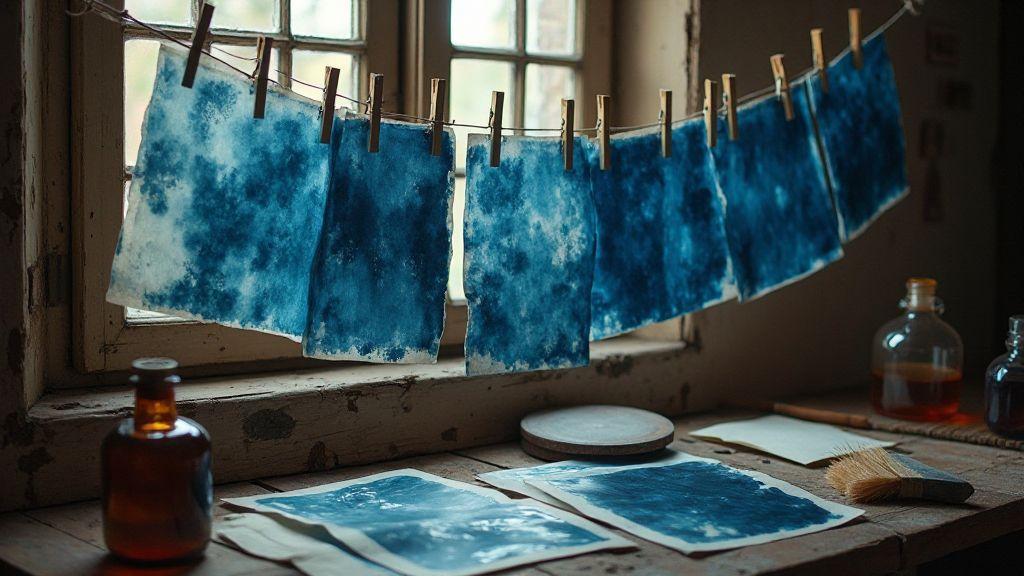
Dry the paper flat in a dust-free area. Let it dry until it’s matte and no longer tacky. If you’re short on time, you can dry under a low-heat lamp, ensuring even heating. When completely dry, place your objects, masks, or negatives for exposure. Store dry sheets in a dark, clean spot until use. Careful coating and drying yield sharper images.
How you expose, wash, and finish prints
Exposure is the payoff. Lay your prepared paper, place the object or negative, and illuminate with a strong light. Start with short tests and extend exposure to achieve desired blue contrast. Edges will lighten where light is blocked, creating bold silhouettes.
Washing is quick after exposure. Rinse in cool water, washing away unreacted salts to reveal white lines and shapes against deep blue. Don’t over-wash; a light rinse preserves contrast.
Finishing is simple. Dry completely, then flatten or mount for display. Some use a gentle fixer or spray to stabilize the surface—test first. Aim for archival-quality results with crisp whites and vibrant blues.
Timing and contact printing techniques
Timing is key in contact printing. Balance exposure strength, paper sensitivity, and your light source. Start with short test exposures, then adjust. If the blue is too pale, shorten exposure or increase light; if shadows lack detail, lengthen exposure slightly.
A precise contact print setup helps. Keep negatives or objects from shifting; use a small weight or frame to maintain alignment. Good contact yields sharp edges and clean silhouettes.
As you gain experience, you’ll notice patterns: different papers need different exposures; denser negatives require more time; lighter objects need less. Build a quick mental map to streamline your workflow.
Tools and materials for contact printing
Work on a flat, clean space. A glass table or smooth board keeps things flat. Tweezers help handle negatives, and a soft brush removes dust. A steady UV light source or the sun, plus a timer, keeps exposure consistent. Label containers for paper, coatings, and cleaners to avoid mix-ups.
Choose compatible materials: moisture-friendly paper that holds edges, coatings designed for contact printing, and a dedicated utensil kit to prevent contamination. Store everything in a cool, dry place.
Safety matters. Wear gloves, ensure ventilation, and protect eyes from splashes with goggles. A small fan helps manage fumes. The right tools make contact printing repeatable and enjoyable.
Choosing paper types and coatings
Paper choice defines the final image. For contact printing, choose rag-based or cotton papers for edge clarity and moisture resistance. Look for papers labeled for printmaking or exposure work. The coating should apply smoothly, dry flat, and avoid bubbles. Test a few swatches to compare responses under your light.
Coatings vary. A sensitized coating is common and effective for beginners. Start with an affordable option that dries quickly. The coating determines contrast, so test with small prints first. Texture matters: a slight texture adds character; smooth surfaces yield razor-sharp edges. Consider archival quality to ensure longevity.
Negatives, objects, and DIY exposure frames
Negatives are your main tool. Keep them clean, flat, and dust-free. Use a fixed frame to align negatives with coated paper, or improvise with clamps. The goal is minimal movement and no light sneaking around edges.
DIY exposure frames can be simple: a shallow wooden box or a thick cardboard frame with a tight top panel and a glass pane to keep things flat. Have reusable sleeves or light-safe covers to protect negatives. Practice makes positioning second-nature, and each adjustment sharpens your final image.
Objects as masks allow creative light control. Place objects between light and paper to shape tone and texture. Be mindful of shadows and edges; complex objects may need careful placement or multiple exposures. Test on scrap first and stay flexible.
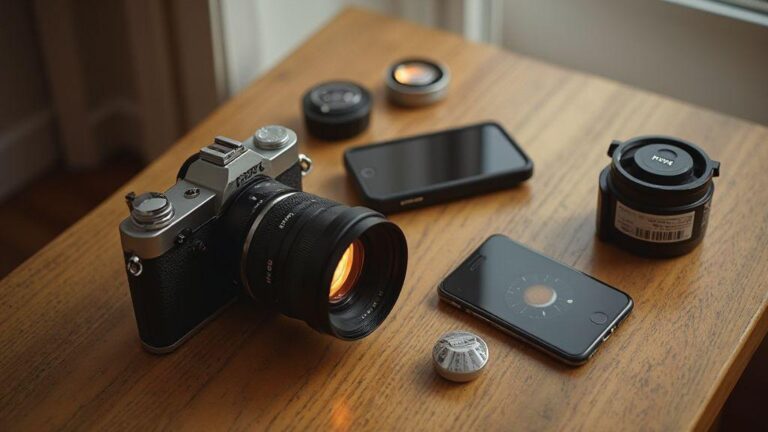
A simple kit to start at home
Create a compact, reliable kit: flat workspace, glass sheet, a timer, clean brushes, tweezers, and a container for coatings. Include sample papers and a couple of coatings for side-by-side comparisons. Keep negatives in archival sleeves and prepare a DIY exposure frame. A simple kit builds a consistent routine; you can upgrade parts later as you gain confidence.
Have a protected space for developing: a tray for washing and a drying rack. Label supplies and store them in a cool, dry place. The simple kit should feel approachable so you’ll actually use it and learn what works for your style.
Compare other alternative photographic processes
Beyond cyanotype, several alternative processes shape tone, contrast, and texture differently. Some yield soft, dreamy details; others produce bold, graphic lines. Choose a process that matches the mood you want for your photograph.
Think of alternatives as entering a new room: light changes, shadows shift, and your subject may glow differently. If you want warm, earthy tones, one method may feel more natural; if you want crisp, high-contrast, another could be ideal. Your workflow, studio setup, and patience will guide your choice. The right option should support your creativity.
Van Dyke Brown process basics and uses
Van Dyke Brown yields rich, coffee-toned, vintage-looking images. Coat with ferric ammonium citrate and silver nitrate, expose with UV, and develop for deep blacks and soft browns. It’s forgiving and well-suited for landscapes and portraits, adding a nostalgic mood.
Platinum palladium printing and salted paper print notes
Platinum palladium offers superb tonal range, with a refined, archival look. Coat, expose, and develop for smooth gradients and durability, though it’s slower.
Salted paper prints are gentler and approachable, producing warm images with halo and glow—great for portraits with a nostalgic feel.
How to choose the right process for your image
Base your choice on subject and mood. For dramatic clarity, consider platinum palladium or high-contrast Van Dyke Brown. For warmth and nostalgia, salted paper or Van Dyke Brown can be ideal. Consider your pacing: longer processes suit a patient workflow; faster methods fit tighter schedules. Archival goals also matter for longevity.
Care, archival tips, and sharing your prints
Protect your prints after creation. Store away from direct sunlight, flat or in sleeves, with clean hands. Use acid-free mats and sleeves when sharing to avoid transfer. Maintain consistent care for durability.
For framing, use UV-resistant glass and archival mats. If mounting, choose acid-free materials and avoid excessive tape. Consider digital backups to share portfolios online without risking originals. The phrase Alternative Processes like Cyanotype in Analog Post shines when its details are clear in digital form.
Proper washing, drying, and toning for longevity
Rinse prints with clean water and use a gentle fixer or soap as needed. Avoid vigorous scrubbing; let chemicals work. Dry prints flat in a dust-free space, away from drafts to prevent curling. If toning, apply a controlled, time-based approach to keep color even. Selenium or gold toners can be explored on test swatches to see shifts, then rinse thoroughly.
Scanning and digitizing handmade photographic prints
Digitizing opens your work to broader audiences. Use a clean setup with soft light and a flat surface. Capture depth and texture with a high-resolution scanner or camera rig, avoiding harsh reflections with diffuse light. Save as TIFF for archiving and JPEG for sharing, and keep consistent naming.
Preserve metadata: title, date, process, materials, and notes. When publishing online, consider light watermarking or behind-the-scenes notes to provide context. Digital copies extend reach while originals remain the core. Alternative Processes like Cyanotype in Analog Post benefit when details are shared clearly in digital form.
Display, storage, and conservation
Display with UV-protective glass and acid-free mats, mounting with care to avoid edge stress. Store flat in archival boxes with acid-free interleaving sheets in a cool, dry environment. Rotate displays to limit light exposure and replace aging sleeves or mats as needed. Label works with title, date, process, and dimensions. Regular gentle handling and periodic checking help maintain a cohesive, presentable collection. Your prints deserve a careful home that honors the craft.

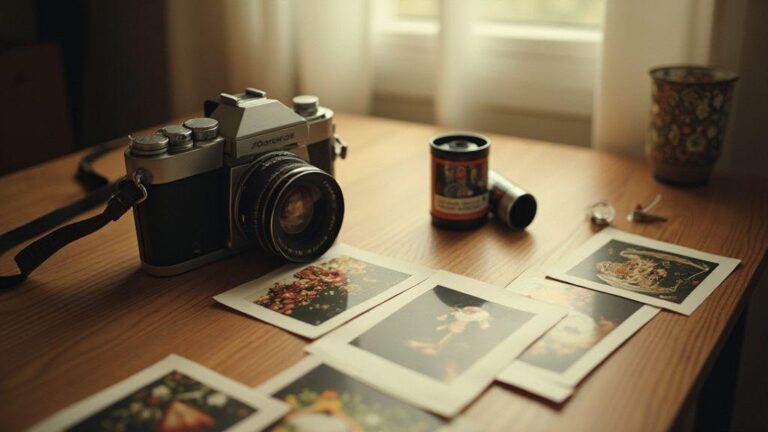
Junior Souza is a passionate analog photographer and the mind behind estoucurioso.com. With a camera always in hand and a roll of film never far away, Junior has spent years exploring the world through a 35mm lens — learning, experimenting, and falling deeper in love with the slow, intentional process that only analog photography can offer.
What started as pure curiosity quickly became a lifestyle. From testing different film stocks under harsh light to hunting vintage lenses at flea markets, Junior believes that understanding your tools is just as important as developing your eye.
Through estoucurioso.com, he shares everything he has learned along the way — the techniques, the mistakes, the references, and the stories behind the frames. His goal is simple: to build a space where beginners and enthusiasts alike can grow, get inspired, and never stop being curious.
Always learning. Always shooting.