Why thermal stability matters in darkroom processing
In your darkroom, Advanced Temperature Control in Home Darkroom Setup isn’t just about comfort—it directly affects how your film and paper develop. When the temperature drifts, chemicals react at different speeds, and you can lose detail, contrast, or fog your negatives. You’ll notice this most on long runs or when pushing film. Stable temps mean predictable results, repeatable outcomes, and fewer wasted sheets or rolls. Think of it like baking: too hot or too cold and your recipe goes off; the same idea applies to silver-based chemistry. Your process relies on timing, and time is temperature’s best friend or worst foe. If your developer starts warm and cools quickly, development stops being linear. You’ll see changes in density and grain you didn’t intend. By prioritizing thermal stability, you reduce surprises and gain control. You’ll be able to trust that your negatives develop the way you expect, shot after shot, roll after roll. Thermal stability also affects consistency across sessions; drift from 68°F to 72°F means different development times, more testing, and more wasted chemistry. Keeping a steady temperature makes your workflow smoother, saves chemistry, and helps you dial in your look with less guesswork.
How temp changes alter development time
When the room heats up by a few degrees, your developer works faster. The film spends less time in the solution, which can lighten shadows and reduce contrast. If shadows are muddy or highlights blow out, you’re seeing the flip side of temperature changes. You want a consistent environment so the same development time yields the same result, frame to frame. If the temperature drops, development slows, producing deeper shadows and higher contrast, sometimes with more noticeable grain. Timings must shift with temperature, or negatives become inconsistent. Keeping temps steady minimizes constant recalibration and keeps your workflow simple. You don’t need fancy gear—use a reliable thermometer and track room temperature during sessions. If you notice drift, fix the room—insulate, seal drafts, or move away from heat sources. Small changes add up to big consistency.
Aim for steady home darkroom temperature control
Stabilizing temperature starts with a plan you can actually follow. Choose a dedicated space where you can control heat and drafts. If your room swings 5–10 degrees, add a simple heater or cooler that maintains a narrow band, plus a small fan for even air flow. The goal is predictability, not perfection. Create a routine: check the thermometer before you start, then recheck after your chemicals are mixed. If you’re batching, match all temperatures within a degree or two to avoid cold-start or hot-start swings. Your aim is a natural, steady state you don’t have to fight every session. Amber notes you might keep: a cheap probe thermometer, a dedicated water bath at a fixed temp, and light-colored walls to see heat shimmer. Label bottles with target temps and times so you don’t guess mid-session. The smoother your environment, the more your results reflect your technique, not your room’s mood. Advanced Temperature Control in Home Darkroom Setup can be your ally in this.
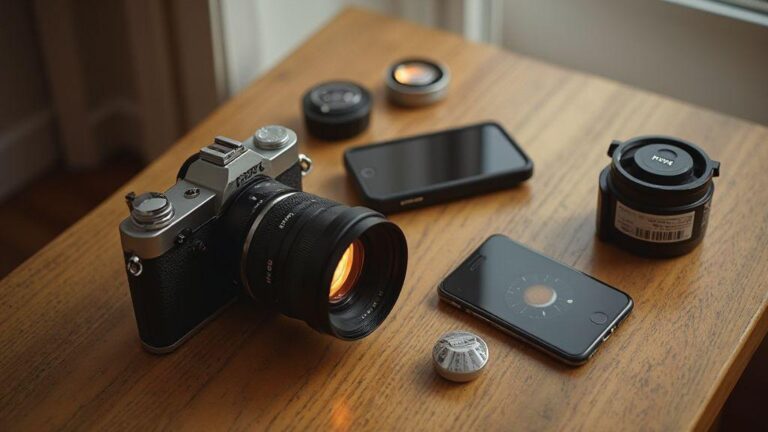
Choose temperature sensors for film development
You want film that comes out right, not washed out or murky. Sensor choice matters. Start with sensors that stay accurate, are easy to read, and don’t get in the way in the darkroom. Pick sensors that cover your development range, with a clear display and quick response. If you shoot color film, you’ll need tighter control and faster readings; for black-and-white, you can trade speed for simplicity. Consider how you’ll use them: mounted on your tank or in a tray? Your setup should feel natural, not a puzzle every time you load film. Choose a model that’s reliable and easy to calibrate, so you don’t guess the temperature. When comparing digital vs analog sensors, weigh ease against tactile feedback. Digital sensors give exact numbers with alarms, auto-logging, and timer compatibility; analog sensors offer a hands-on feel with fewer electronics. Pick what fits your workflow, and ensure the sensor is easy to clean and humidity-resistant. Placement matters: calibrate first, then lock in with a clamp or clip so readings stay consistent session to session.
Best sensor placement in your darkroom
Place sensors so they read the true development temperature without direct light or heat sources. Submerge the probe in the developer but avoid touching the tank bottom or sides. In trays, position the sensor in the middle of the liquid away from air vents or warm spots. Minimize drafts and radiant heat from radiators or glossy surfaces. A consistent placement builds trust in your times and results.
Calibrate sensors regularly
Calibration is your best ally for honest numbers. Check accuracy at least once a week or whenever you switch films, chemicals, or temperatures. Compare sensor readings to a known reference (ice water for cold, boiling water for hot) and adjust offsets as needed. Keep a simple log: date, film type, chemical temp, sensor reading, and adjustments. If available, use auto-calibration, but verify with a manual check. Regular calibration gives you confidence that each batch will look as intended.
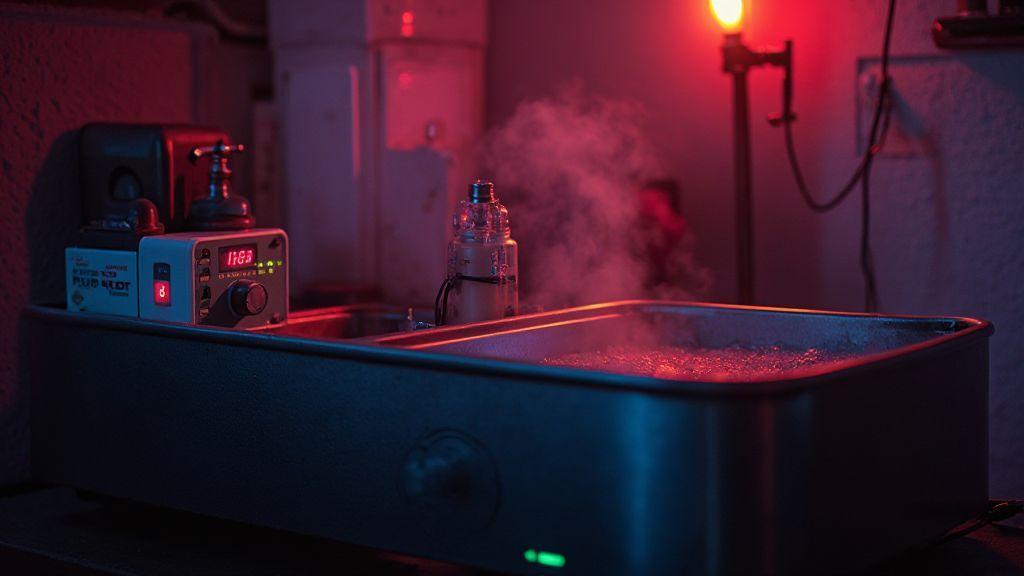
Use a PID temperature controller for darkroom precision
Precision matters in the darkroom, and a PID temperature controller is your best friend for steady processing. It uses feedback from a sensor to adjust power to the heater or chiller, reducing drift. It isn’t magic—it’s a responsive loop that quickly corrects and then settles. With proper setup, you’ll see fewer temperature spikes during rack swaps or maintenance, translating to more reliable processing results and fewer surprises when you pour chemicals into your film. Think of PID as a guardrail: it modulates rather than just turning on and off, giving you a calmer, more repeatable workflow.
How PID improves thermal stability in darkroom processing
A PID controller uses Proportional, Integral, and Derivative actions to deliver quick responses, remove long-term errors, and dampen oscillations. It keeps your baths close to target temperature even if the room shifts or you add hot water. Expect tighter control during long development runs and easier calibration overall. A good PID reduces the need to babysit the bath, letting your workflow proceed with confidence.
Sizing a PID for heaters and chillers
Choose a controller capable of handling the heat load and cooling needs of your batch. Start with the heater and chiller current ratings and pick a controller that can handle a little more. If you have multiple tanks, sum the loads and plan for worst-case heat gain. Sensor placement and response time matter—fast sensors give quicker feedback and better stability. Ensure the controller can drive your heater and chiller correctly (voltage, PWM, or current), with headroom for startup transients and safe max/min temperatures.
PID tuning basics
Begin with conservative Proportional gain and adjust Integral and Derivative terms gradually. Test with small temperature steps and observe the bath response. If it overshoots and settles slowly, increase Derivative damping. If it settles with a steady offset, raise Integral. If the system is sluggish, increase Proportional gain. Document target ranges and tuning steps to reproduce good results. Treat tuning as a repeatable process, not a one-off tweak, so you have a stable setup you can rely on for every run.
Active heating cooling darkroom setup for small spaces
In a small darkroom, you need a setup that responds quickly to temperature changes without taking up space. Use a compact heater to raise temps on cold days and a small chiller or fan-assisted cooler to remove heat when it gets warm. Place them so they circulate air without blowing directly on trays. Pair these with a simple routine: check room temperature at set times, log highs and lows, and preemptively adjust to prevent swings. This keeps the environment stable for reliable processing.
Compact heaters and chillers that work
You don’t need industrial gear. A compact indoor-safe heater and a quiet cooler can do the job. Look for adjustable thermostats and safe features like tip-over and overheat protection. A small vertical heater with a low-profile footprint fits tight spaces. Combine with a compact chiller or cooled fan setup. A Peltier cooler or small portable AC can stabilize temperatures noticeably. Position units to avoid direct exposure to chemicals and shelves. Energy use and noise matter—seek a balance that fits your workflow.
Insulated darkroom temperature regulation
Insulation helps you regulate temperature in a small space. Seal gaps around doors/windows, add draft stoppers, and consider ceiling or wall insulation to slow outside temperature creep. A basic thermostat with a floor sensor can help balance air temperature and the work surface. Insulation and smart control pay off with consistent developer and fixer temperatures across batches. For light-sensitive materials, store supplies in a protected, lightly insulated cabinet to minimize heat gain or loss.
Safety and power limits
Know your power limits and keep cords tidy. Use indoor-rated equipment and avoid daisy-chaining heavy devices. Check wattage and avoid overloading circuits. Keep pets and curious hands away from hot surfaces and fans, and use devices with tip-over and overheat protection. A surge protector with a circuit breaker helps prevent electrical disasters. Ensure ventilation when running heaters in small spaces, and manage humidity to prevent condensation on trays and negatives. Develop a routine: inspect plugs and outlets, avoid clutter, turn devices off when not in use, and never leave heaters unattended.
Manage humidity and temperature with a climate control system
A climate control system that holds steadiness in temperature and humidity minimizes film warping and tray sweating. Look for units that maintain room conditions within a few degrees and a few percentage points of RH. The goal is stability, not perfection. A good system reduces failed rolls and saves materials while quieting the workspace so you can focus on technique. It should allow dehumidification or heating without constant fiddling. For color or mixed-media work, consistent humidity helps keep tones stable and mitigates temperature-induced shifts. Treat climate control as the backbone of your darkroom setup: when the environment is steady, technique can shine.
Dehumidifier vs desiccant methods
A dehumidifier actively lowers moisture and is a solid default for many setups, automating humidity control. Desiccants use dry material to absorb moisture, consume less electricity, and work well in tight spaces or quiet environments. Desiccants require regular replacement or recharging and can demand more frequent monitoring. If your space is consistently dry, desiccants can be a clean supplement or backup; otherwise, a dehumidifier is the easier path to stable humidity.
Preventing condensation on film and trays
Condensation is the silent thief of your work. Keep materials away from windows and sunlit lines, elevate film and trays for air circulation, and use a low fan to promote movement without direct blowing on materials. Seal the processing area to minimize drafts. If using a cabinet, add a controlled intake or exhaust and place a hygrometer inside. Wipe surfaces after handling and store exposed film in airtight sleeves to prevent moisture buildup. Small habits add up to reliable results.
Set humidity targets
Set a practical RH target (for example, 40–50% RH during storage) and tailor it to your materials and processing steps. Use reliably placed hygrometers to monitor main work areas and storage. If you see drift, adjust unit placement or sensor positioning to measure where it matters. Regular checks keep targets honest and results predictable.
Add smart thermostat for darkroom and remote monitoring
A smart thermostat lets you control the darkroom climate from a laptop, phone, or tablet. Look for remote monitoring, scheduling, and WiFi compatibility so you don’t miss a beat when you’re away. Pair it with simple rules: if the room drifts beyond a small margin, nudges back toward target. This keeps your darkroom habits consistent and reduces re-testing. A thermostat can also log temperature data for trend analysis over days or weeks, helping you plan adjustments without surprises. This Advanced Temperature Control in Home Darkroom Setup acts as an invisible assistant, keeping your workflow smooth while you focus on developing film or printing.
WiFi sensors and alerts for your darkroom
WiFi sensors provide real-time readings on your phone. Place them near the developing sink, enlarger, and at different heights to catch drafts or heat pooling. Alerts notify you of temperature drift, allowing you to jump in before a batch is affected. Set practical thresholds (e.g., a 2-degree overnight drift is acceptable, a 5-degree swing needs attention now). Use push notifications for immediate issues and daily summaries for reviews. Over weeks, you’ll notice patterns and adjust seals, fans, or heater placement accordingly. This keeps your darkroom steady and your mind at ease.
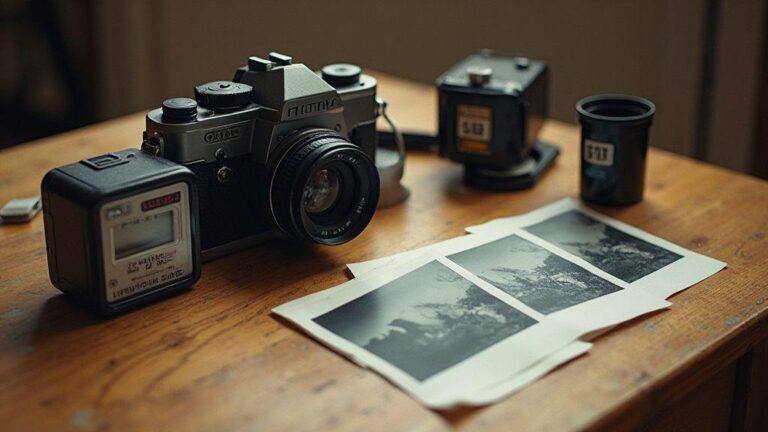
Log temperature for repeatable results
A temperature log is your recipe book for repeatable results. Record daily highs and lows, times you change settings, and batch notes. A simple format—date, ambient temp, target temp, actual temp, and notes—lets you compare conditions across runs. This turns variations into identifiable patterns and makes troubleshooting faster. Your log becomes a reference you can share with collaborators or your future self.
Remote alarm and access setup
Set up remote alarm and access so you can monitor the darkroom from anywhere. An alarm can alert your phone or email if temperatures spike, a door opens, or a sensor battery runs low. Remote access lets you tweak settings without returning home, saving time and protecting your work. Prioritize security with strong passwords and two-factor authentication. Test the system regularly so alerts fire when they should, and you can respond quickly without being physically present.
Log temperature for repeatable results
Keeping a temperature log is essential for repeatable outcomes. You’ll track ambient and target temps, session notes, and batch results, turning intuition into reproducible practice.
Conclusion
Advanced Temperature Control in Home Darkroom Setup isn’t just about hardware—it’s about creating a dependable workflow. Steady temperatures reduce variability, save chemistry, and sharpen your results. With good sensors, smart controls, and disciplined monitoring, you’ll enjoy calmer sessions, clearer negatives, and a more predictable path from shot to print.

Junior Souza is a passionate analog photographer and the mind behind estoucurioso.com. With a camera always in hand and a roll of film never far away, Junior has spent years exploring the world through a 35mm lens — learning, experimenting, and falling deeper in love with the slow, intentional process that only analog photography can offer.
What started as pure curiosity quickly became a lifestyle. From testing different film stocks under harsh light to hunting vintage lenses at flea markets, Junior believes that understanding your tools is just as important as developing your eye.
Through estoucurioso.com, he shares everything he has learned along the way — the techniques, the mistakes, the references, and the stories behind the frames. His goal is simple: to build a space where beginners and enthusiasts alike can grow, get inspired, and never stop being curious.
Always learning. Always shooting.