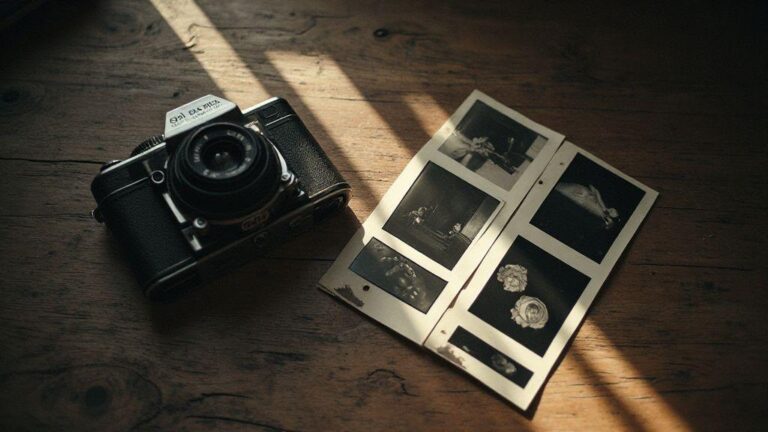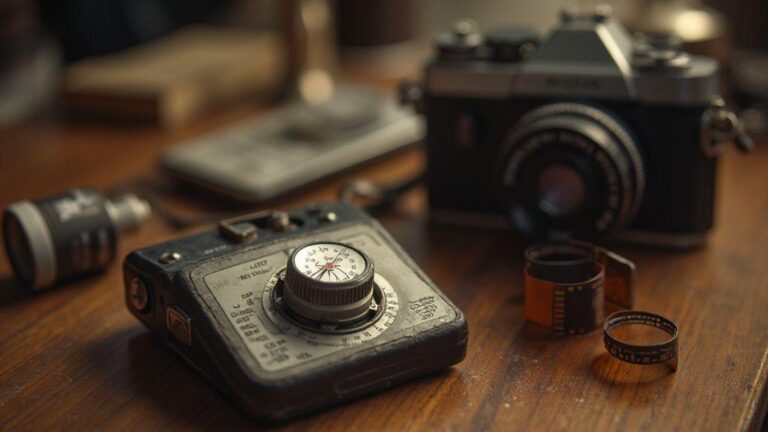
Stand development techniques explained
Stand Development Methods for Unique Analog Effects are rooted in patience and control. You’ll let the film sit in developer for a long time, usually without agitation, to yield a unique tonal range, fine grain, and dramatic shadow detail. This approach lets you feel more in control of the final look, using gentle, prolonged processing to push latitude in tricky scenes while pulling out rich blacks where needed. The core idea is to let the chemistry do the work while your hands stay quiet, letting the emulsion reveal itself slowly and steadily.
With stand development, you balance time, temperature, and dilution. You’ll often use very high dilution and a long soak, sometimes with a tiny amount of fresh developer added after a stretch. The result is soft contrast, a sense of depth, and a vintage feel that’s hard to copy with rapid development. Keep notes on temperatures and times so you can repeat or refine the look you chase. The key is consistency, so your stand becomes predictable rather than a lucky accident.
If you’re chasing distinctive textures or a moodier palette, stand development can be your secret weapon. You’ll notice smoother midtones and a tactile granularity. Your workflow should include a simple rinse between steps to prevent buildup and keep the film from taking on unexpected colors. Many shooters keep a dedicated container for stand development and label it clearly, so you know exactly what’s in there and for how long it has been sitting.
Long stand film development basics
Long stand film development focuses on letting the emulsion breathe in the chemistry. You’ll commonly mix a very dilute solution and leave the film submerged for hours. Temperature control matters, so you’ll monitor the bath closely and keep it steady. The goal is to coax out quiet tones and a soft contrast, not to push hard edges. This approach shines in high-contrast scenes where you want more detail in both shadows and highlights.
Prepare your film, load it correctly, and place it in the stand bath with minimal agitation. Over time, the developer works slowly, revealing the image in a subtle, painterly way. After the standby period, rinse and fix, then wash thoroughly. Keeping a log of times and temperatures helps you reproduce the look you liked most, so your next roll isn’t a guess.
If you’re new to long stand development, start with small test strips to learn how different dilutions and times affect your results. Even slight changes can shift tonal balance. It’s a gentle learning curve, but the payoff is a distinct, timeless quality that’s hard to achieve with standard timing. Patience here pays off with a negative that holds detail in both dark and light areas.
Why minimal agitation matters for you
Minimal agitation guards the delicate balance you want to achieve. You’ll keep the emulsion quiet and allow the chemistry to do the heavy lifting. Too much agitation can erase the soft tonal transitions you’re after, while gentle handling yields smoother gradations and less harsh contrast.
Gentle moves also prevent air bubbles and uneven development, avoiding streaks and hot spots. If you’re excited to try something new, restraint becomes a feature, not a flaw. The most striking results often come from patience. In practice, use short, deliberate movements during loading and a single, long stand during the core bath.
Test different agitation routines and document what works for your camera and film stock. You’ll learn that the preferred look comes from a balance between time, temperature, and agitation. Your notes guide future shoots, helping you recreate a mood you love without starting from scratch each time.
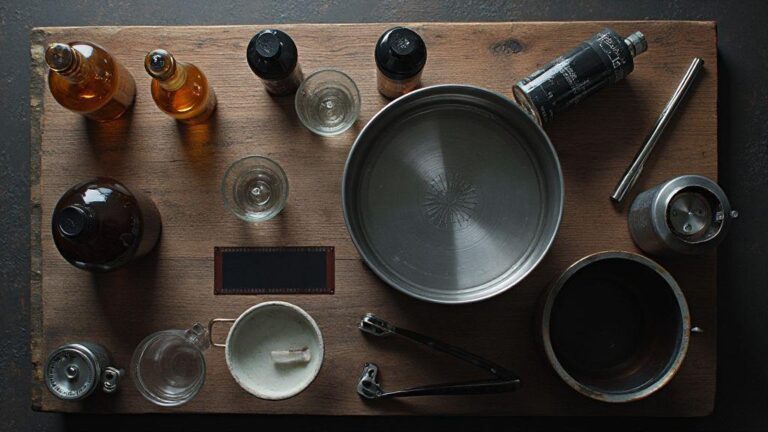
Basic safety checklist
- Wear gloves and work in a well-ventilated area to protect skin and lungs from fumes.
- Label all chemicals clearly and store them away from food and kids.
- Never mix acids and bases in the same space; rinse between steps to avoid reactions.
- Check temperatures regularly and keep a thermometer handy.
- Dispose of used chemicals properly according to local rules; don’t pour into drains unsafely.
Dilution ratios and developer choice
When you mix your developer, you shape contrast, grain, and tonal range before you shoot. The dilution ratio is the first lever: a stronger mix (lower dilution) increases contrast and heavier grain, while a weaker mix (higher dilution) yields smoother tones and finer grain. You’ll feel this in shadows and highlights: lighter dilutions reveal detail, darker dilutions push depth.
Developer choice matters as much as dilution. Some developers emphasize sharp edges and punchy contrast; others soften transitions and boost midtones. For a vintage feel with pronounced grain, you might pair a high-contrast developer with a strong dilution. For airy skies and subtle transitions, a gentler developer with a lighter dilution can be ideal. Experiment with a few firm picks and compare results side by side, noting how each mix behaves in similar lighting.
Your workflow should be repeatable. Use a dedicated measuring setup, label bottles clearly, and stick to a routine so you know what you’re getting every time. As you gain experience, map which dilutions and developers yield your favorite effects for different subjects. Keep your goals in mind, and your choices will feel deliberate.
Common dilution ratios for stand development
Stand development typically uses gentle dilutions around 1:100 to 1:300 with low-activity developers, yielding softer contrast and smooth grain, suitable for moody skies or low-contrast scenes. If you want a bit more bite, start near 1:50 or 1:80, but know you’ll trade some of the classic stand serenity for punch. Consistency is essential: once you settle on a ratio that fits your stock and lighting, keep it steady across rolls.
Environment matters too. Temperature, agitation style, and film age affect results at these dilutions. If the room is cool, lean warmer; if the film is older or more sensitive, a milder dilution helps. The goal is predictable, repeatable results you can trust in the field.
If you’re starting out, begin with a classic 1:100 dilution and a long, still process. Compare it with a 1:300 run to see how grain and tonal balance shift. Make notes about exposure and scene type so you can recreate or refine your preferred look later. With practice, you’ll know which dilution shapes the scene you envision before you lift the camera.
How you pick a developer for grain and tone
Decide what you want your final image to feel like. Do you crave bold, chunky grain and sharp edges, or a quiet, painterly texture? Choose a developer whose character matches that feel. For sharpness and punch, pick a developer known for clarity; for satin-like skin tones and gentle transitions, choose one that smooths highlights and pulls midtones forward.
Test with a few small runs under the same lighting, varying only the developer. Note dilution, development time, agitation, and the resulting look. Build a personal palette of developers for your favorite scenes—one for high-contrast city nights, another for quiet sunlit fields. Consider how you’ll view the final image (print vs. scan) since some developers push grain in ways that read differently in large prints or scans. The right match makes your workflow smoother and your images more expressive.
Control grain and contrast
You’ve got to own the look you want, and that starts with controlling grain and contrast in your film emulsions. Grain is the texture you’ll feel in every frame, while contrast shapes how subjects pop. In stand development, you’ll tease out mid tones while preserving highlight detail, yielding a timeless, painterly vibe.
Your approach starts with the right developer and development time. Stand development lets the emulsion mature at a low, steady pace, softening grain while preserving shadow detail. If you want finer grain, short, controlled agitation in early frames can help, but stay subtle. Use a gentle curve for contrast so midtones breathe and highlights stay readable. Small exposure changes can shift the feel, so keep notes and test often.
Lock in a look by treating each roll as a small experiment. Grain and contrast respond to film speed, exposure, and development time, so maintain a stable environment to reproduce your chosen texture and tonal balance across shoots. If unsure, rely on tests to guide you, not guesswork. The more you understand how stand development shapes grain and contrast, the more confident you’ll be in your final frames.
Grain enhancement in stand development
Stand development gently amplifies texture, producing classic, subtle grain without shouting. Grain appears as a natural texture that works well for portraits and landscapes with mood. Keep the developer at low activity and give it time for grain to settle into shadows and midtones. A slight change in temperature or agitation can shift grain from fine to more pronounced, so document and repeat what works. Test on a small roll before applying to a full batch.
Contrast control in stand development
Contrast comes from how the image holds detail in shadows and highlights. Stand development yields softer, nuanced contrast, preserving highlight texture and preventing muddy blacks. If more punch is needed, adjust exposure slightly or extend development time in small steps. A stable, low-activity stand bath typically creates a gentle S-curve, preserving detail across the tonal range. Brief, controlled agitation at the start or later stages can add a touch more punch without harshness. Track changes so you can reproduce your preferred contrast.
Run small tests
Before committing to a full batch, run tiny tests to see how grain and contrast respond to your stand method. Use frames that mirror intended subjects and film speed, then compare. Note how small changes in temperature, time, or agitation alter texture and tonal range. Document everything and repeat only what works. This approach helps you refine Stand Development Methods for Unique Analog Effects you can trust.
Push, pull, and exposure effects
Push, pull, and exposure choices shape how your stand evolves. Think of stand development like a plant: push too hard, and you risk damage; pull too little, and growth is slow. Exposure sets the rhythm. Combine these effects to move your stand development forward with clear goals, quick tests, and on-the-fly adjustments. Consistency—small, steady pushes with disciplined exposure—yields steady growth and better results over time.
Push drives action and visibility with focused, value-oriented messages. Pull slows the pace to deepen interest, answer questions, and build trust. Exposure is the cadence of your stand—where and to whom it’s shown. Plan a steady rhythm that fits your audience’s habits.
Push and pull aren’t one-time moves. They form a loop: push, observe, adjust, and re-push. Use simple metrics to decide when to push again or pull back. Stay consistent and responsive, and you’ll see engagement grow and a clearer path to your outcomes. Your Stand Development Methods for Unique Analog Effects will feel more natural with practice.
Push and pull stand development outcomes
Pushing creates quick visibility, starting conversations and gathering early data like clicks or replies. Pulling deepens interest, prompting questions, demos, or trial uses. The blend yields a steady funnel rather than a spike, with pull reducing hesitation and speeding trust toward a real next step.
Exposure outcomes
Regular exposure builds familiarity and reduces perceived risk. Expect recognition, recall, and positive sentiment to grow, with better response quality as your timing and relevance improve. This creates a smoother, longer lifecycle for your stand, with fewer drops between campaigns. Align push, pull, and exposure with real needs to sustain growth.
Reciprocity effects and stand development
Reciprocity works as a handoff: give something useful first and people feel compelled to respond. Simple offers—tips, insights, or quick examples—build goodwill and foster action. Clear, low-friction next steps and prompt acknowledgments create a positive feedback loop that turns your stand into a trusted partner over time.
Record your exposures
Log every exposure: where you appeared, who you reached, and what happened next. A simple record reveals patterns in channels, timing, and messages that trigger action. Include date, channel, audience detail, and result. Note changes and their effects. With consistent record-keeping, you’ll refine Push, Pull, and Exposure faster and see clearer progress toward your goals.
Agitation methods and timing
You’re aiming for consistent results and a look unique to your film stock. Agitation and timing influence sharpness, grain, and contrast. Think of agitation like stirring a soup: too little yields flat, milky lines; too much risks loss of control. Choose a method based on film type, lighting, and the mood you want. Deliberate adjustments should feel planned, not accidental, and be ready to adapt if initial frames behave differently.
Gentle swirl keeps midtones smooth; quick motions can boost contrast and create grain with character. For crisper shadows and a clean look, use shorter, controlled motions and shorter agitation windows. For a vintage, organic feel, longer agitation with varied motions can enhance textures. Practice on test strips to see how each technique shifts color balance and grain. Lock in a repeatable baseline for consistent results.
Balance risk and reward: too long or too aggressive agitation can cause uneven development; no agitation can yield flat results. Start with a baseline, test, and adjust in small increments. Keep a simple log of method, agitation duration, and final tone. Your Stand Development Methods for Unique Analog Effects will improve as you document and refine.
Minimal agitation stand development steps
For clean tones and minimal texture, begin with a calm, controlled approach: a gentle initial swirl to soften edges, then let the film sit with minimal movement. Expect smooth midtones and readable highlights. Keep swirls to a minimum and let the developer do the heavy lifting. Consistency and patience yield predictable results across the reel.
Keep the agitation window tight and predictable: a slow, circular motion at the start, then let the developer work. Avoid shaking or abrupt movements to prevent uneven diffusion and tonal bias. If you notice a cool or warm bias, adjust temperature or exposure in future runs, but keep the base pattern the same.
When to invert, stir, or leave still
Inversion, stirring, or leaving still each adds a micro-character to your final image. Inversion increases activity and can boost contrast; stirring mixes fresh chemistry without jolting the emulsion; leaving still yields extremely uniform tonality and minimal grain. Assign a scene-by-scene rule: invert for high-contrast scenes, stir for even grain, and leave still for quiet, detailed subjects. Document choices to dial in future runs with speed and confidence.
Set a clear timer
Time is your ally and enemy. Set a timer to avoid overdoing agitation or extending contact. Start short, test, and extend in small increments as needed for bite or texture. A visible timer helps you reproduce exact conditions across reels, ensuring Stand Development Methods for Unique Analog Effects remain consistent. Use cues like a gentle shake every 10 seconds or a minute between actions to maintain rhythm.
Agitation methods and timing (revisited)
You’re building intuition, so keep notes on every run. The chosen method shapes how shadows are held, how grain forms, and how color shifts. With deliberate timing, you can steer toward a modern clean look or a textured vintage vibe. The goal remains repeatable, reliable results you can share and improve. Start with a baseline, compare outcomes, and adjust in small steps. Consistency is key, as Stand Development Methods for Unique Analog Effects live in repeatable routines you can trust.
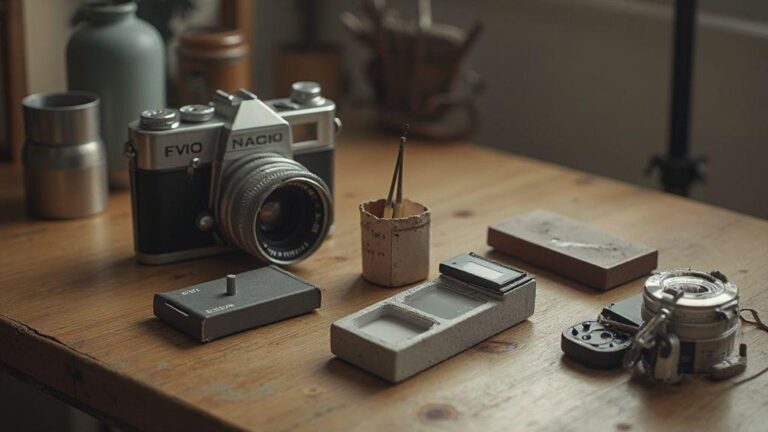
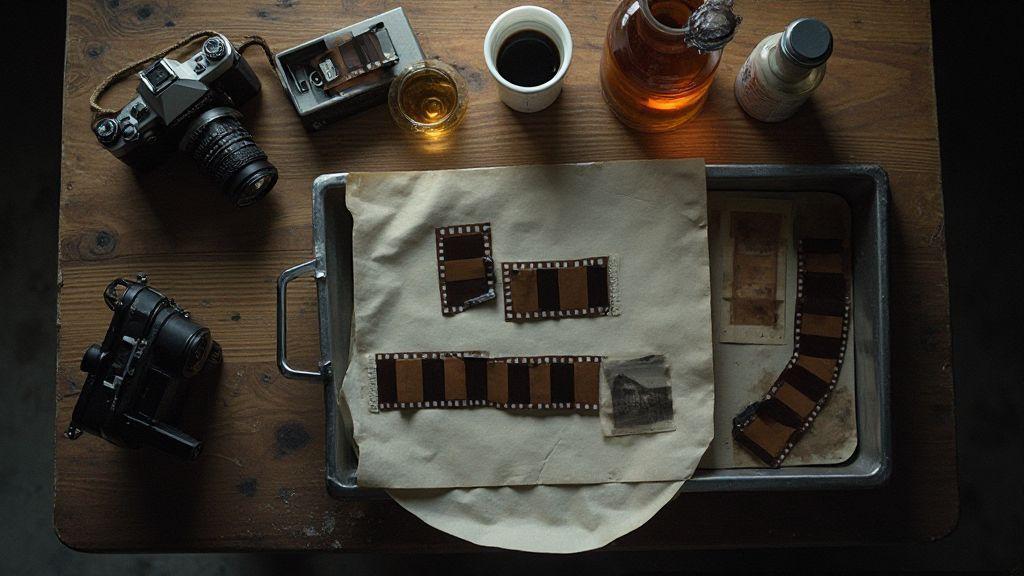
Darkroom workflow and finishing
Stand development can feel like a small world of its own, with a quiet finish that reveals your image. Structure your day so nothing is rushed or skipped, align steps, keep hands steady, and finish with consistency. Deliberate work beats speed, every time. Small checks—like pacing your timer and keeping a clean workspace—reduce rework later. Your darkroom should feel like a calm workshop, with a routine you can repeat for reliable results across shoots.
Darkroom workflow for stand development
Stand development begins with a clean, organized setup: tanks, timers, safelights, and pre-wetting reels if needed. Confirm chemical temperatures, select your stand method, and stick to a fixed time for every frame to maintain uniformity.
Gently introduce your film to the developer and let the stand method do the work, with minimal agitation. The longer the stand process runs, the more the tonal range settles in. If you seek a unique texture or contrast, adjust temperature and dilution carefully while maintaining a steady rhythm. After the timer, move to the next stage with purpose.
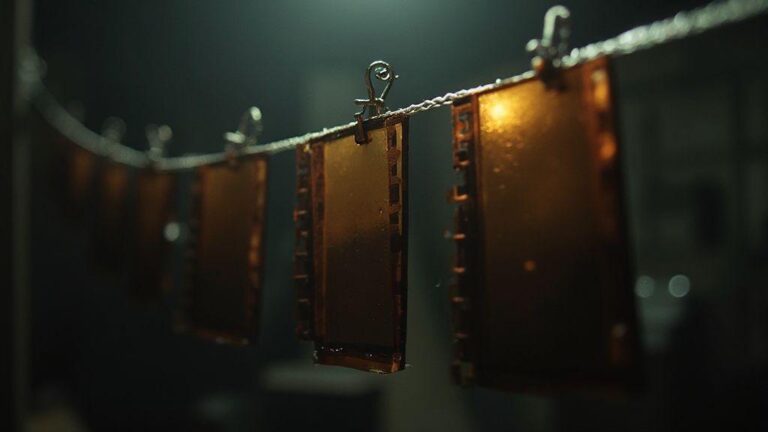
After development, switch to stop bath and fix. Rinse between steps to prevent carryover that could muddy the image. Watch for endpoint cues and ensure the final rinse preserves grain and edge sharpness.
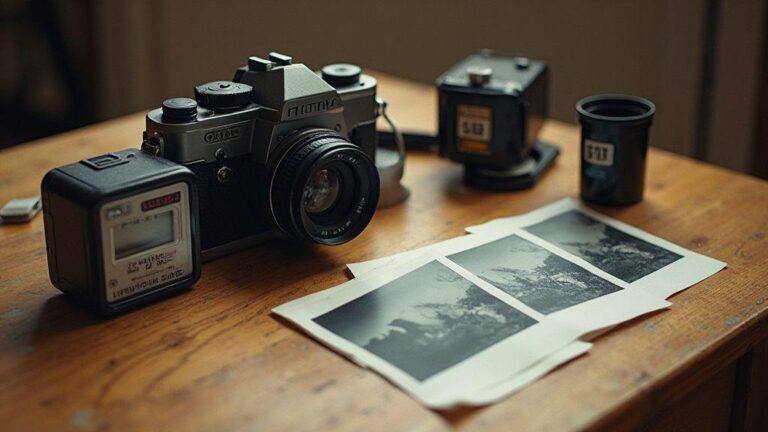
Scanning and printing after stand processes
For scanning or printing, evaluate contrast and density, noting zones that require light adjustment in future workflow. A high-quality scan preserves tonal decisions; printing should reproduce the mood with appropriate exposure, contrast, and grading. Calibrate your scanner, apply gentle noise reduction if needed, and watch for grain artifacts. When printing, proof a few sheets and lock in settings for reuse. The goal is to reproduce the stand’s look with repeatability, creating a reliable bridge from film to final image.
Label and date rolls
Labeling and dating rolls is a memory guardrail. Include film type, date, stand method, and any tweaks, plus a roll number to keep order when shooting multiple rolls. Add brief notes about exposure or development specifics to influence future results. Clear labeling helps you avoid second-guessing later.
Conclusion: Stand Development Methods for Unique Analog Effects
Stand Development Methods for Unique Analog Effects reward patience and discipline, delivering textures, tones, and grain that classic methods rarely rival. By balancing dilution, temperature, agitation, and time, you can reproduce distinct looks across shoots. Use careful testing, thorough logging, and consistent workflows to turn stand development into a reliable creative tool, and keep refining your approach to maintain the distinctive analog character you seek.

Junior Souza is a passionate analog photographer and the mind behind estoucurioso.com. With a camera always in hand and a roll of film never far away, Junior has spent years exploring the world through a 35mm lens — learning, experimenting, and falling deeper in love with the slow, intentional process that only analog photography can offer.
What started as pure curiosity quickly became a lifestyle. From testing different film stocks under harsh light to hunting vintage lenses at flea markets, Junior believes that understanding your tools is just as important as developing your eye.
Through estoucurioso.com, he shares everything he has learned along the way — the techniques, the mistakes, the references, and the stories behind the frames. His goal is simple: to build a space where beginners and enthusiasts alike can grow, get inspired, and never stop being curious.
Always learning. Always shooting.