Beginner Home Developing Guide for Black and White FilmAnúncio
Welcome to this Beginner Home Developing Guide for Black and White Film. This guide covers setting up a simple darkroom, choosing the right chemistry, mastering agitation, and the basics of washing, scanning, and archiving your negatives. With a calm, repeatable routine, you’ll build confidence and consistent results session after session.
Your basic darkroom setup
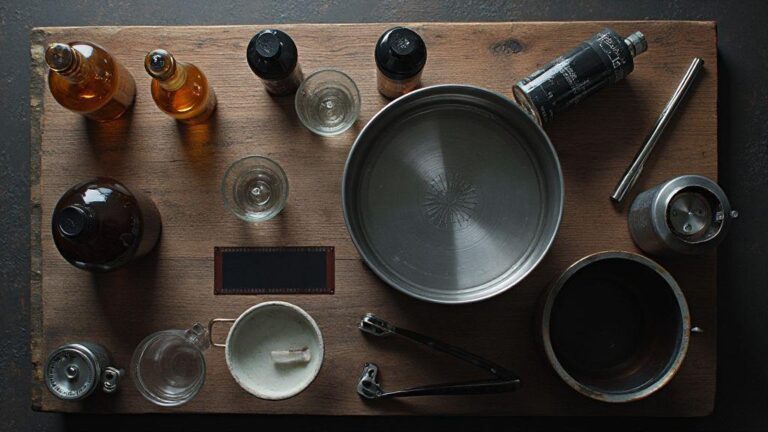
Create a simple, safe space where light stays controlled and your workflow stays smooth. Start with a small table or bench, a sturdy tray system, and a dedicated area for chemicals. An organized workspace helps you move quickly and avoid mistakes, and good ventilation makes handling chemicals safer and less exhausting. Your goal is a calm, repeatable routine you can follow every session.
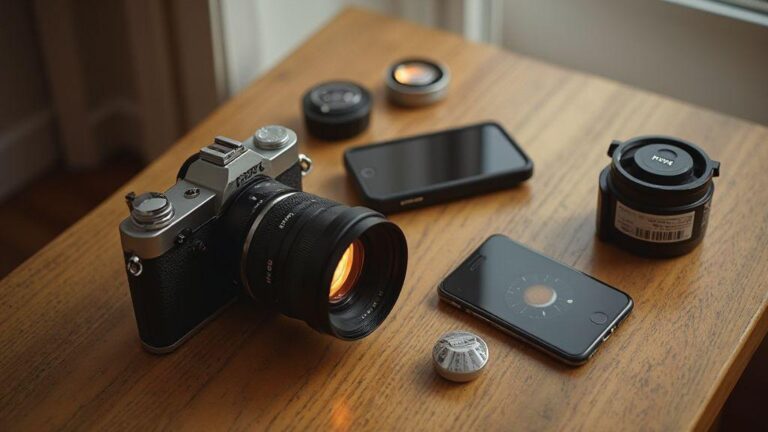
Basic supplies include a dedicated enlarger or a compact enlarger-less setup, light-tight film tanks, and a reliable timer. Use neutral gray safelights to see without fogging your film; pick a safe, low-intensity option. A thermometer helps you hit exact temperatures, which is crucial for consistent results. Label chemicals clearly and store them in a cool, secure spot.
Finally, set up a clean, dedicated washing and drying zone: a rinse basin, a squeegee or soft cloth, and a quiet space for drying. Use a separate container for each chemical to avoid cross-contamination. A simple, repeatable layout lets you focus on technique, not where you left your gloves last time.
Essential gear for your home film developing guide
Your first must-haves are the developer, stop bath, and fixer—choose kits that match your film and preferred contrast. A dependable thermometer and a timer are essential. A few sturdy developing tanks with reels keep loading films tidy, and a wash bottle helps rinse with control. Don’t forget gloves and a funnel for safe pouring. Pick gear that’s easy to clean and reuse to minimize surprises.
A few accessories pay off in big ways. A dedicated darkroom safelight is non-negotiable for keeping negatives unexposed. A film changing bag helps you load reels in light-safe conditions when space is tight. An extra thermometer and a backup timer save you from session disruptions. Keep a small notebook or app handy to track development times and temperatures so your results improve with each session.
Avoid common beginner mistakes in film development
Take your time when loading reels to avoid scratches and fogging. Practice loading in dim light before handling real film. Temperature drift is a sneaky culprit—keep chemicals within a few degrees of target and stir gently to avoid air bubbles. Don’t reuse fixer or developer too long; exhausted chemicals yield weak contrast and muddy results. Always check light-proofing after every setup, since a tiny leak can ruin an entire batch.
Avoid overloading trays or stacking too many reels at once. Work in small, clean, organized batches. Mark your timers clearly and don’t peek too often— cumulative white-light exposure can fog negatives. Rinse thoroughly; insufficient washing leaves residue that dulls your print.
Quick checklist for your home darkroom
- Confirm you have a light-tight space and a safe, low-intensity safelight
- Gather your developer, stop, fixer, and water for thorough washing
- Have a thermometer, timer, and clean developing tanks with reels
- Stock gloves, funnels, and a squeegee or soft cloth for drying
- Keep a notebook or app to track times and temperatures for each session
Choosing developer and fixer
You’re about to pick tools that shape your film’s mood, so choose options that match your goals and workflow. Consider your typical shot range, lighting, and how dramatic you want blacks and whites. A forgiving, predictable system is best, with some developers emphasizing contrast and others softening grain. Your aim is a consistent result across multiple rolls to learn faster.
Look for clear temperature ranges, replenishment options, and labeling that helps you dial in times without guesswork. A reliable fixer shouldn’t leave residues or cause milky stains if you misjudge timing. If you shoot at higher ISO or push processing, check which developer supports push processing without unwanted color shifts. Size up your space and budget; a setup that minimizes tweaking saves time.
Test with a few rolls and keep a simple log: note the developer, fixer, dilution, time, and the results you like or dislike. This habit makes your future self grateful when you can recreate a preferred look with confidence.
How to choose developer and fixer for black and white film
Pick a developer that yields the tonal range you crave, from clean whites to deep blacks, with grain matching your mood. For sharp, punchy contrast, choose a developer known for that effect and pair it with a fixer that preserves detail without fogging. For moody, softer scenes, select a gentler contrast developer and a fixer that maintains edge detail without harshness. The goal is a clean, stable image you can rely on.
Read labels for grain and contrast; some developers push grain for a filmic look, others keep grain minimal for a documentary feel. If you shoot in mixed lighting, you may prefer a developer that smooths midtones to avoid abrupt shifts. In short, match the developer’s character to your subjects, and pick a fixer that keeps the image stable through rinse and wash.
Your shooting style should guide you toward practicality: forgiving chemistry for solo work, or an environment where you can experiment with others. Either way, choose a system with consistent results and clear instructions. You can tweak exposure and development times later as you refine your eye.
Developer effects on grain and contrast
The developer you choose shapes how bright whites feel and how deep blacks are. Some developers produce pronounced grain; others yield a smoother look. If you want punchy portraits, pick a high-contrast developer; for landscapes with a timeless feel, choose something that preserves midtones and allows a bit more grain for texture. Grain and contrast are tools, not enemies—one film stock can look very different with two developers.
Grain and contrast interact with lighting. A developer that smooths midtones can help in mixed lighting, while a higher-contrast option can make highlights more aggressive. Reading negatives improves with experience: high-contrast scenes may need shorter development; flatter scenes may benefit from longer development to deepen shadows without amplifying grain. It’s a balance among subject, paper, and chemistry.
Recommended developer and fixer combos
For a reliable, versatile setup that works for beginners and seasoned shooters, try a classic developer with mid-to-high contrast paired with a standard, easy-to-handle fixer. This combination yields predictable results and room to explore as you learn your taste. If you want more control over grain, choose a developer that lets you tune development times. For beginners, this reduces surprises and speeds up progression.
B&W film developing times and temperatures
Developing at home becomes straightforward once you lock in times and temperatures. You’ll notice differences in tone and grain with small changes. Standard times at 20°C (68°F) provide a solid baseline; the exact times depend on film and fixer, but starting values give you room to adjust. Keep your tank and solutions well-mixed and avoid aggressive agitation to prevent streaks.
If unsure, run a test strip to dial in the exact time for your mix. Start with the manufacturer’s recommended time for your film and developer, then adjust by a minute or two as needed. A stable baseline helps you reproduce results, even on busy weekends.
Adjusting times for push and pull processing
Push processing develops longer to compensate for underexposure, increasing grain and contrast. Pull processing shortens development to preserve highlights on overexposed frames. Make small, incremental adjustments and test; one extra minute or a few seconds can change tone and texture. Track ISO, developer, time, and outcome in a simple log.
Use simple time and temp charts in your routine
Create a small chart with film type, developer, temperature, base time, and any push/pull adjustments. At 20°C, note the base time and add adjustments as needed. Keep the chart near your developer and timer to stay consistent. This chart becomes your personal rulebook as you try different stocks and developers. Begin with base times, add one-stop adjustments, and record results to refine your process.
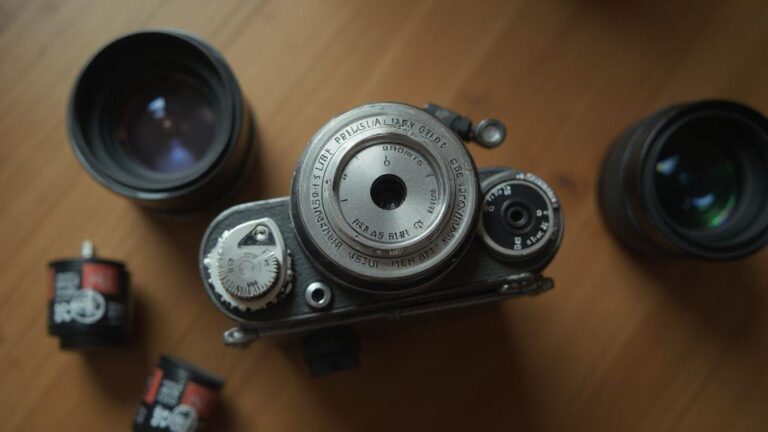
Loading film reels in total darkness
Total darkness is your best friend when loading reels. Focus, plan each move, and practice without film to build confidence. Learn the feel of the reel and the film to keep everything flat, avoid tangles, and recognize when an adjustment is needed. A calm, deliberate pace yields clean loads and reduces stress during your developing journey.
Use a changing bag or a darkroom to load reels
In total darkness, a changing bag keeps light out while handling reels and centers. It’s tactile work; you’ll learn to open the bag, position the reel, and thread the film with care. A darkroom offers more space and a stable surface. Practice first without film to master the motions.
Tips to avoid scratches when loading film reels in total darkness
- Cradle the film with clean hands and avoid touching the emulsion side
- Keep the film flat; feed smoothly and evenly
- If resistance appears, pause and re-align rather than forcing
- Inspect reels for burrs or sharp edges; wipe with a clean cloth
- Maintain a dust-free workspace and avoid touching the emulsion
Step-by-step safe reel loading for beginners
- Prepare your changing bag or darkroom: lay out one clean reel, one empty spool, and a dust-free mat; test the light seal
- Open the film box and cut a straight edge if using a loose strip
- Thread the film into the spool or onto the reel’s center slowly
- Place the loaded reel into a light-tight container or loading chamber and secure the lid
Agitation methods for film processing
Agitation moves the developer across the film, affecting contrast, grain, and evenness. Think of it like stirring coffee: too little leaves the bottom underdeveloped; too much bruises the surface. Aim for a rhythm that keeps chemistry in contact with the film without overdoing it. Consistency matters—use the same pattern across reels and document what you did and the result.
Continuous vs intermittent agitation methods for film processing
Continuous agitation keeps the developer moving for the entire time for very even results but can overwork the emulsion if not done calmly. Intermittent agitation, with set motion followed by rests, is beginner-friendly and still achieves smooth tones. Choose based on your patience, rig, and film/emulsion.
How agitation affects development and image quality
Agitation determines how evenly the developer reaches each crystal of silver. Over-agitation can blow highlights and increase grain in shadows; under-agitation yields flat, muddy blacks. Temperature interacts with agitation: hotter baths need gentler motions; colder baths require longer or more active patterns. Tailor agitation to your film, developer, and temperature for consistent results.
Simple agitation routine you can follow
- Start with a gentle, consistent 5–10 second motion every 30 seconds during development
- Finish with a rinse
- If you prefer intermittent agitation, try 10 seconds of motion, then 20 seconds of stillness, repeating for development
- Document and adjust timing to keep density and texture consistent
Beginner Home Developing Guide for Black and White Film: keep a simple, repeatable rhythm, and your negatives will thank you with clean tones and predictable results.
Washing, drying and archival care for negatives
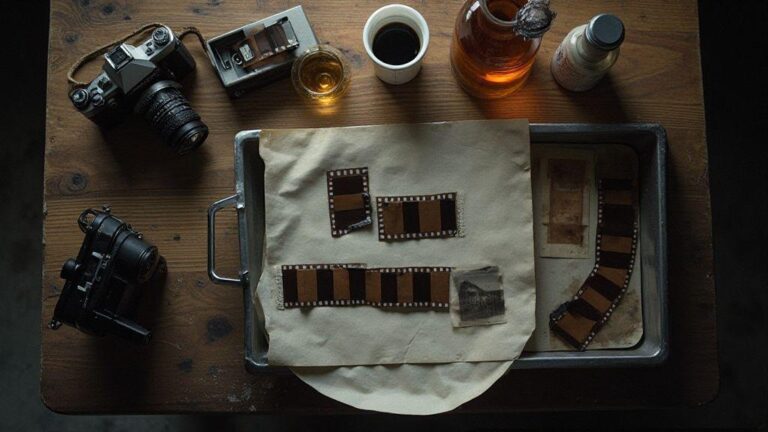
Washing removes fixer, dust, and oils, preparing negatives for scans or prints. Drying and trimming follow, then proper archival storage. A proper routine keeps film sharp and stain-free for years.
Wash with warm water and a mild rinse aid if available; avoid hot water and harsh chemicals. A thorough rinse helps prevent mineral spots. Dry in a lint-free space with a rack or hanging lines to allow airflow; avoid touching the emulsion.
For archival storage, use acid-free, anti-static sleeves and store negatives in a cool, dry place away from direct light. Keep strips flat and well separated to prevent sticking or humidity damage. Regularly check for signs of deterioration and address them early.
Proper washing to remove fixer and prevent stains
Wash with clean, lukewarm water and a gentle technique; if you have a wash bath, swirl slowly and avoid rubbing the emulsion. A final rinse with distilled water helps prevent mineral spots. Pat dry with a lint-free cloth or air-dry on a rack. If stubborn stains appear, a light rinse with a small amount of fixer-free developer can help, but don’t overdo it.
Scanning and printing black and white negatives at home
Scanning at home gives control and speed. Use a clean scanner lid and a neutral light source. Set the scanner to a linear scale and avoid aggressive auto-corrections to preserve tonal range. For black and white negatives, aim for a bit more contrast in the scan so midtones don’t disappear. Adjust exposure and brightness gradually, then convert to black and white in editing if desired.
Printing at home should preserve a faithful tonal range. Use a stable light source and trustworthy paper. If prints look too contrasty, reduce brightness slightly; if flat, increase it modestly. Test prints save material and time.
Drying, cutting and long-term storage tips
Dry negatives completely before cutting. Use a clean, dust-free area with a drying rack. Avoid touching the emulsion and don’t stack wet negatives. When dry, cut with sharp scissors or a film cutter to keep clean edges. Label the edges with date and film type.
For long-term storage, place negatives in archival sleeves that are acid-free and anti-static. Store in a cool, dry place away from direct light. Don’t overcrowd; give each strip space to breathe. Periodically check humidity and signs of deterioration so you can act early.

Junior Souza is a passionate analog photographer and the mind behind estoucurioso.com. With a camera always in hand and a roll of film never far away, Junior has spent years exploring the world through a 35mm lens — learning, experimenting, and falling deeper in love with the slow, intentional process that only analog photography can offer.
What started as pure curiosity quickly became a lifestyle. From testing different film stocks under harsh light to hunting vintage lenses at flea markets, Junior believes that understanding your tools is just as important as developing your eye.
Through estoucurioso.com, he shares everything he has learned along the way — the techniques, the mistakes, the references, and the stories behind the frames. His goal is simple: to build a space where beginners and enthusiasts alike can grow, get inspired, and never stop being curious.
Always learning. Always shooting.